Keeping your mandoline slicer clean is more than just good kitchen hygiene—it’s about safety, performance, and food quality. This handy tool can turn vegetables into paper-thin slices or beautiful julienne strips, but its ultra-sharp blades and tricky corners can make cleaning a challenge. If you’ve ever hesitated to use your mandoline because of the cleanup, you’re not alone. With the right approach, you can clean your mandoline slicer quickly and safely, keeping it ready for your next cooking adventure.
Why Proper Cleaning Matters
A mandoline slicer is a magnet for food residue. Tiny bits of carrot, potato, or zucchini can get stuck near the blades and under attachments. If not cleaned well, these leftovers can grow bacteria and mold. This not only risks your health but also affects the taste and smell of your food. Some slicers also have metal parts that can rust if moisture and food particles remain. Regular and proper cleaning extends your tool’s lifespan and keeps every meal safe.
Neglecting to clean your mandoline can also dull the blades. Food acids left on the metal will slowly corrode it. A dull blade requires more force, increasing the risk of slips and injuries. Consistent cleaning keeps your mandoline sharp and efficient.
Before You Begin: Safety First
Mandoline slicers are famous for their razor-sharp blades. Even a quick wipe can lead to a deep cut if you’re not careful. Before starting, always:
- Unplug the mandoline if it’s electric.
- Disassemble removable parts.
- Use a cut-resistant glove whenever your fingers go near the blade.
- Keep the blade cover on when not in use.
If you don’t have a cut-resistant glove, a thick kitchen towel works as a temporary shield. Never rush through cleaning—most accidents happen when people are in a hurry.
The Step-by-step Mandoline Slicer Cleaning Process
Let’s break down the cleaning process into simple, effective steps. Whether you just finished slicing potatoes or prepping a salad, these steps will help you clean your mandoline quickly and safely.
1. Disassemble The Mandoline Slicer
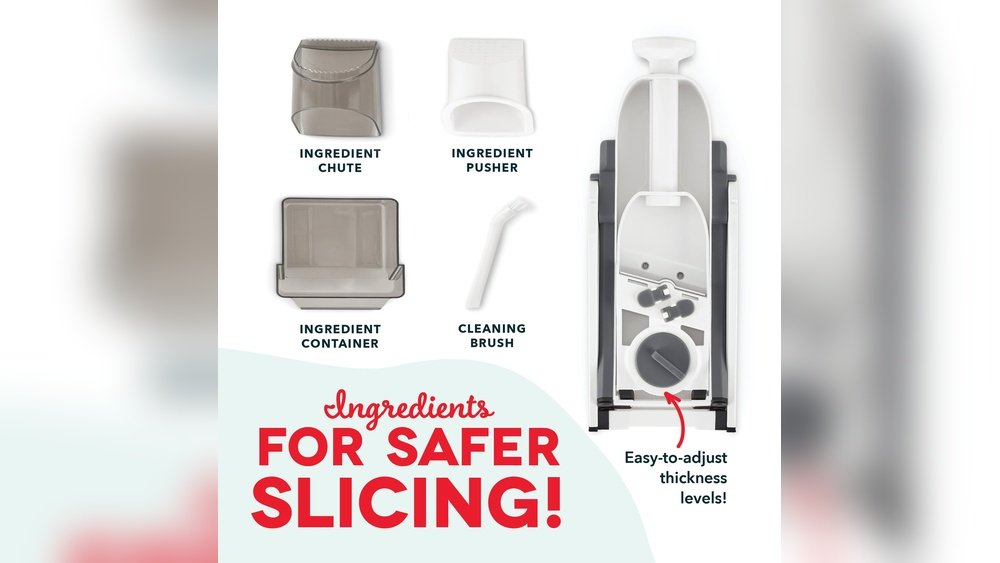
Start by taking apart all removable pieces. Most mandoline slicers have several parts:
- Main slicing platform
- Blade inserts or attachments (straight, wavy, julienne)
- Food holder or hand guard
- Knobs or levers for thickness adjustment
Check the instruction manual if you’re unsure how to remove attachments. Disassembling makes it easier to reach hidden food bits.
2. Rinse Immediately After Use
Rinse the mandoline and its parts under warm running water right after slicing. This prevents food from drying and hardening. Pay close attention to corners and around the blades.
If you’ve sliced starchy foods like potatoes, you may notice a white film. Scrape this off gently with a plastic spatula or your fingernail (wearing a glove).
3. Soak Stubborn Parts
Sometimes, residue sticks to blades or slots. Soak parts in warm, soapy water for 5-10 minutes. This softens dried food, making it easier to scrub away.
Never soak the entire mandoline if it has non-removable metal parts or if it’s electric. Only soak the safe, removable pieces.
4. Scrub Gently, But Thoroughly
Use a soft brush or an old toothbrush to clean around the blades and in tight spaces. Avoid using steel wool or abrasive pads, as these can scratch and dull the blade. For the main platform and non-blade pieces, a regular sponge is fine.
For the blades, move the brush or sponge away from the sharp edge—never toward it. This simple habit prevents accidental cuts.
5. Clean The Food Holder And Accessories
Food holders, guards, and other attachments often have hidden crevices. Remove any food trapped in spikes or corners. Some users miss this step, but bacteria can hide here.
A cotton swab or toothpick can help reach tiny grooves. Rinse well after scrubbing.
6. Rinse And Dry All Parts
After scrubbing, rinse all parts under running water to remove soap and loosened debris. Dry each piece with a clean towel. Don’t forget to dry the blade thoroughly to prevent rust.
Let all pieces air dry for a few minutes before reassembling. Even a drop of water can cause rust or mold if left hidden.
7. Reassemble And Store Safely
Once every part is dry, reassemble your mandoline. Store it with the blade guard on, and keep it out of reach of children. If your slicer came with a storage box, use it to keep all parts together and safe.
Dealing With Tough Stains And Odors
Sometimes, your mandoline may hold on to stains or smells, especially after slicing onions, garlic, or beets. Here’s how to tackle these issues:
- Lemon juice: Rub a cut lemon over stained or smelly areas. The acid helps break down stains and neutralize odors.
- Baking soda paste: Mix baking soda with a little water, apply to stubborn spots, and let it sit for a few minutes before scrubbing.
- Vinegar rinse: A quick wipe with white vinegar can also remove odors and minor stains.
Avoid using bleach or harsh chemicals—they can damage the surface and are not food-safe.
Cleaning Frequency: How Often Is Enough?
You should clean your mandoline thoroughly after every use, even if you only sliced a few vegetables. For heavy use (e. g. , prepping for a party or restaurant), pause to rinse parts every hour or so to prevent buildup.
Some users believe they can simply “wipe and go” if slicing only one type of food. This is risky—starchy or acidic foods can still corrode the blade, and bacteria multiply rapidly even on clean-looking surfaces.
Dishwasher Vs. Hand Washing: What’s Better?
Many mandoline slicers are labeled as “dishwasher safe. ” But is this the best way to clean them?
| Cleaning Method | Pros | Cons |
|---|---|---|
| Hand Washing | – Gentle on blades and surfaces – Lets you check for hidden food |
– Takes more time – Risk of cuts if not careful |
| Dishwasher | – Fast and convenient – No direct contact with blades |
– High heat can dull blades – May not clean corners – Not all parts are dishwasher safe |
Most experts recommend hand washing for the blade and main platform, even if the manufacturer says dishwasher safe. The high heat and harsh detergents in dishwashers can cause blades to dull and plastic parts to warp.
If you do use the dishwasher, place small parts in the top rack and avoid heated drying cycles. Always check the manual for specific guidance.

Credit: chefsupplyco.com.au
Cleaning Different Types Of Mandoline Slicers
There are several types of mandoline slicers, and cleaning needs can vary. Let’s look at how to care for the most common models.
Basic Manual Mandolines
These are the simplest to clean. They often have a single blade and no complex attachments. Disassemble, rinse, scrub, and dry—easy and straightforward.
Adjustable Mandolines
Models with adjustable thickness or multiple blades need more attention. Dirt can hide under adjustment knobs and around moving parts. Always remove attachments and clean under levers and sliders.
Multi-blade And Electric Mandolines
These have several blades or motorized parts. Never immerse electric bases in water—wipe with a damp cloth instead. Clean blades and attachments as usual, but check for electrical contacts and dry them well.
Stainless Steel Vs. Plastic Slicers
Stainless steel mandolines resist stains and odors better, but can rust if not dried properly. Plastic slicers are lighter and less prone to rust, but can stain more easily. Both types need careful cleaning around the blade area.
Common Cleaning Mistakes To Avoid
Even experienced cooks make cleaning errors. Here are some common mistakes and how to avoid them:
- Ignoring the blade area: Food and bacteria love to hide here. Always scrub this zone carefully.
- Using abrasive pads: These scratch and dull your blade, making it less effective and more dangerous.
- Soaking non-removable parts: This can ruin internal mechanisms or cause rust.
- Rushing the process: Skipping steps leaves food behind and increases risk.
- Not drying completely: Even a little moisture leads to rust or mold over time.
A little extra attention now saves you money and keeps your mandoline working for years.
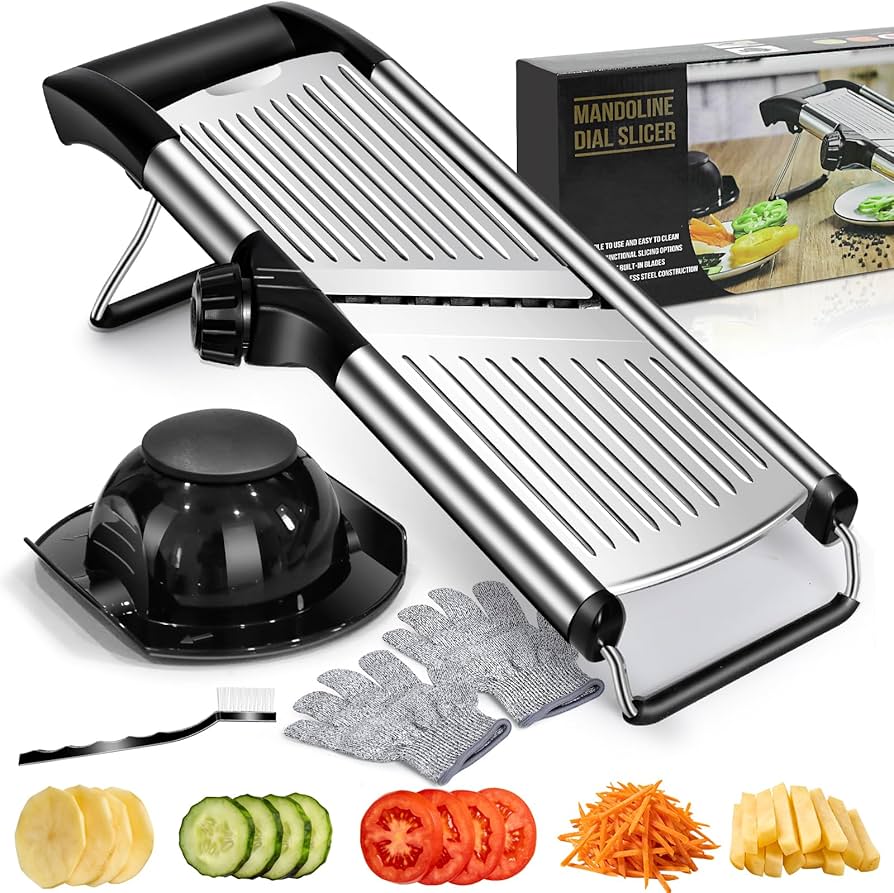
Credit: www.amazon.com
How To Clean A Mandoline Slicer Safely: Practical Examples
Let’s see how this works with two real-world examples.
Example 1: Slicing Tomatoes For A Salad
After slicing juicy tomatoes, you’ll notice seeds and juice trapped near the blade. Disassemble the slicer, rinse it immediately, and use a soft brush to clear seeds from the blade slot. Dry with a towel before storing.
Example 2: Prepping Potatoes For Chips
Starch can leave a sticky film on plastic and metal. After slicing, soak the blade and platform in warm, soapy water. Use a toothbrush to scrub away the film. Rinse and dry completely to avoid rust and sticky buildup.
In both cases, wearing a cut-resistant glove keeps your hands safe and helps you clean more thoroughly.
Tips For Long-term Mandoline Maintenance
Cleaning is just one part of caring for your mandoline. With a few simple habits, you can keep your slicer sharp and safe for years.
- Sharpen blades when needed: If your mandoline gets dull, some models let you replace or sharpen the blade. Check your manual for instructions.
- Lubricate moving parts: A drop of food-safe mineral oil on hinges or sliders keeps everything moving smoothly.
- Inspect for damage: Regularly check for cracks, rust, or loose parts. Replace anything that looks worn.
- Store properly: Use the blade cover, and keep the mandoline in a dry place away from other tools.
A well-cared-for mandoline is a kitchen investment that pays for itself.
How Clean Mandolines Improve Food Quality And Safety
A clean mandoline isn’t just about looks. It plays a real role in your food’s taste, texture, and safety.
- No flavor cross-contamination: Residue from onions or garlic can ruin the taste of fruit or other dishes.
- Better slices: Clean blades make smoother, more even cuts, which cook evenly and look more appealing.
- Lower risk of foodborne illness: Harmful bacteria can grow on dirty tools, especially after slicing raw vegetables.
- Longer tool life: Clean, sharp blades last longer and work better.
One overlooked benefit: clean mandolines make you more likely to use them. Many cooks avoid their slicer because of cleaning fears. With a simple routine, you’ll use your mandoline more often, adding variety and nutrition to your meals.
Comparing Mandoline Slicers: Cleaning Complexity
Some mandolines are easier to clean than others. Here’s how a few popular types compare for cleaning difficulty:
| Type of Mandoline | Ease of Disassembly | Areas Prone to Buildup | Overall Cleaning Difficulty |
|---|---|---|---|
| Basic Straight Blade | Very Easy | Blade slot, under platform | Low |
| Adjustable Thickness | Moderate | Adjustment knobs, moving parts | Medium |
| Multi-Blade / Interchangeable | Easy to Hard (varies) | Blade mounts, inserts | Medium to High |
| Electric Mandoline | Hard (non-removable parts) | Motor base, blade area | High |
If you’re shopping for a new mandoline, consider cleaning ease as much as slicing features.
What Most People Miss When Cleaning A Mandoline
Even careful cooks can overlook two important things:
- Cleaning adjustment mechanisms: Slicers with adjustable thickness or blade settings can trap food under knobs and sliders. These areas are often ignored and can harbor mold and bacteria. Always check for hidden nooks when cleaning.
- Inspecting for invisible residue: Potato starch, for example, can dry nearly clear and sticky. Wipe with a white cloth after drying—if you see a film, scrub again with warm, soapy water.
Another insight: even “dishwasher safe” mandolines can develop micro scratches from harsh detergent and hot water. These scratches are not just cosmetic—they can hold bacteria and make future cleaning harder.
Deep Cleaning: When And How To Do It
If you use your mandoline daily or prep strong-smelling foods, a deep clean every month is smart.
- Disassemble all parts, including screws if possible.
- Soak everything (except electric bases) in hot, soapy water for 15-20 minutes.
- Scrub all surfaces, including under knobs and inside slots.
- Rinse with a solution of 1 tablespoon vinegar in 2 cups water to disinfect.
- Dry completely before putting back together.
If your mandoline has not been cleaned in a while, a deep clean is the best way to restore it.
:max_bytes(150000):strip_icc()/how-to-use-a-mandoline-FT-BLOG1020-fffcdbdbcd2e4fc796b73b2c1a9eb195.jpg)
Credit: www.foodandwine.com
When To Replace Your Mandoline Slicer
No tool lasts forever. If you notice:
- Deep rust on blades or screws
- Cracks in the platform or food holder
- Blades that won’t sharpen or replace
- Loose parts that can’t be fixed
…it’s time for a new mandoline. Using a damaged slicer is unsafe and can ruin your food. Quality slicers can last 5-10 years with good care.
Environmental Tips: Green Cleaning For Your Mandoline
For eco-conscious cooks, you can avoid harsh chemicals and reduce waste:
- Use lemon juice and baking soda for cleaning and deodorizing.
- Rinse with leftover cooking water instead of running fresh tap water.
- Dry with reusable towels instead of paper towels.
- Recycle worn parts if possible, or check for manufacturer take-back programs.
Choosing a mandoline with fewer plastic parts can also make recycling easier at end of life.
Quick Reference: Mandoline Cleaning Do’s And Don’ts
Here’s a summary chart for easy reference:
| Do | Don’t |
|---|---|
| – Disassemble before cleaning – Use cut-resistant gloves – Wash blades by hand – Dry immediately – Store with blade guard |
– Leave food residue – Soak non-removable parts – Use steel wool or abrasives – Forget hidden crevices – Store wet or uncovered |
Stick to these basics, and your mandoline will stay safe and effective.
Frequently Asked Questions
How Often Should I Clean My Mandoline Slicer?
You should clean your mandoline slicer after every use. Even if you only sliced one vegetable, small food particles and moisture can lead to bacteria or rust. For heavy prep sessions, rinse or wipe parts between batches to prevent buildup.
Is It Safe To Put All Mandoline Slicer Parts In The Dishwasher?
Not always. While some parts may be labeled dishwasher safe, the high heat and strong detergents can dull blades or warp plastic. Always check your manual. It’s usually safest to hand wash blades and main platforms for longer life.
What’s The Safest Way To Clean The Blade Area?
Wear a cut-resistant glove or use a thick towel to protect your hand. Scrub gently with a soft brush, moving away from the edge. Never use your bare fingers on the blade. Rinse and dry thoroughly to avoid rust.
My Mandoline Smells After Slicing Onions—how Do I Remove The Odor?
Rub the affected parts with lemon juice or a baking soda paste. Both neutralize strong odors. Rinse and dry as usual. Vinegar also works well for stubborn smells.
Can I Use Bleach To Sanitize My Mandoline Slicer?
It’s not recommended. Bleach can damage metal and plastic and is not food safe. Instead, use vinegar or hot, soapy water for disinfecting. If you need official guidelines, check the CDC’s advice on cleaning food prep tools.
A clean mandoline slicer is a joy to use and a sign of a well-organized kitchen. Take a few minutes after each use to clean and maintain your slicer, and you’ll enjoy safe, beautiful cuts for years to come. With these tips, you can say goodbye to cleaning fears and focus on what matters—delicious, healthy meals.