Sanding your kitchen cabinets is one of the most important steps when you want to refinish or repaint them. Well-sanded cabinets look smooth, professional, and help paint or stain stick better. If you skip or rush sanding, you might see rough spots, peeling paint, or uneven color later.
But with the right tools, technique, and patience, you can get your cabinets ready for a stunning new look—even if you have never done it before.
Many people feel nervous about sanding, especially when working with large kitchen cabinets. The process can seem messy and time-consuming. But it doesn’t have to be overwhelming. With clear guidance, even beginners can get great results. This guide will walk you through every step, from preparing your kitchen to sanding tricky corners.
You’ll learn how to avoid common mistakes, and pick up tips that most beginners miss.
Ready to give your kitchen a fresh start? Let’s break down everything you need to know about how to sand kitchen cabinets, so you can work with confidence and get a smooth, lasting finish.
Why Sanding Cabinets Is Essential
Before you start, it’s helpful to understand why sanding is so important. Some people wonder if they can skip this step, especially if their cabinets look smooth or they’re using a “paint and primer in one” product. But sanding does more than just smooth wood. Here’s why it matters:
- Removes old finish: Sanding takes off old paint, stain, or varnish, so the new finish sticks properly.
- Smooths the surface: Even new cabinets have tiny bumps and rough spots. Sanding creates a flat, even surface.
- Opens wood grain: This helps paint, stain, or sealer sink in and stick better.
- Fixes small damage: Scratches, dents, and nicks are less visible after sanding.
- Prevents peeling: Skipping sanding can cause new paint to peel or chip soon after finishing.
Many professional painters say sanding is half the work in any cabinet project. It sets the foundation for everything else.
Tools And Materials You’ll Need
Having the right tools makes sanding easier, faster, and less messy. Here are the main things you need for sanding kitchen cabinets:
Basic Tools
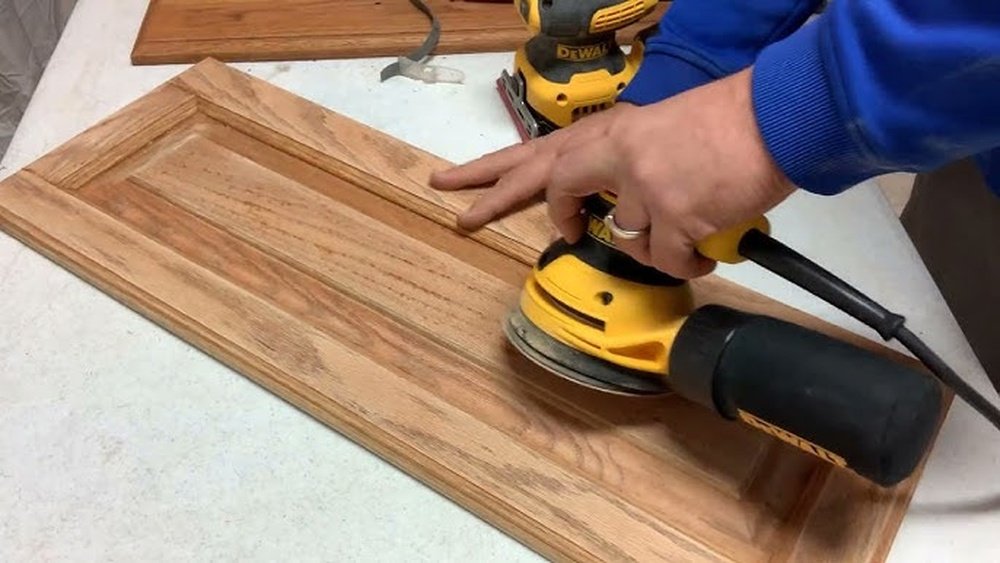
- Orbital sander or palm sander: These save time and give a smooth finish. Orbital sanders are best for flat surfaces.
- Sanding blocks: Good for corners and detailed areas.
- Sanding sponges: Flexible, perfect for curved edges.
- Vacuum with brush attachment: Removes sanding dust.
- Microfiber cloths or tack cloths: Wipe away fine dust.
Sandpaper Types And Grits
Sandpaper grit means how rough or smooth it is. Lower numbers are rougher (remove material fast), higher numbers are smoother (make a fine finish). You’ll need:
- 80-100 grit: For heavy sanding and removing old finish.
- 120-150 grit: For smoothing after first pass.
- 180-220 grit: For final smooth sanding before painting or staining.
Protective Gear
- Dust mask or respirator: Wood dust is harmful to breathe.
- Safety glasses: Protect your eyes from dust.
- Gloves: Help with grip and avoid splinters.
Other Materials
- Drop cloths or plastic sheeting: Cover floors and counters.
- Painter’s tape: Mark edges and protect areas you don’t want sanded.
- Screwdriver or drill: Remove cabinet doors and hardware.
Most of these tools are available at hardware stores or online. Investing in good sandpaper makes a big difference—cheap sandpaper wears out fast and can leave scratches.

Credit: www.brushhouseofnorthjersey.com
Preparing Your Kitchen For Sanding
Preparation is just as important as sanding. It keeps dust away from food, makes the process safer, and helps you work faster.
Clear The Workspace
- Take everything out of cabinets and off countertops.
- Move small appliances and cover anything you can’t move with plastic sheeting.
- Tape plastic over doorways to keep dust out of other rooms.
Remove Cabinet Doors And Hardware
- Use a screwdriver or drill to take off cabinet doors, drawers, and hardware (knobs, handles, hinges).
- Put all screws and hardware in labeled bags, so you don’t lose them.
- Number each door and its place on the cabinet with painter’s tape. This makes reassembly easier.
Clean Cabinets Thoroughly
- Use a degreaser or mild soap and water to clean cabinets. Kitchen cabinets often have grease, oil, or food splatters.
- Rinse with clean water and let dry completely.
- If you skip cleaning, sandpaper can get clogged and won’t work well.
Protect Surfaces
- Cover floors, counters, and sinks with drop cloths or plastic.
- Use painter’s tape to protect walls and any edges you don’t want to sand.
Spending extra time on preparation saves hours later and gives a better result.
Choosing The Right Sandpaper Grit
Picking the right grit is one of the most common places beginners make mistakes. Using sandpaper that is too coarse can scratch the wood. Too fine, and you won’t remove enough of the old finish.
| Grit Number | Best Use | Comments |
|---|---|---|
| 80-100 | Removing thick paint, stain, or varnish | Very rough, use carefully |
| 120-150 | Smoothing after first pass | Most common for kitchen cabinets |
| 180-220 | Final sanding before finishing | Leaves a super-smooth surface |
Pro tip: Always sand with the grain of the wood, not against it. Going against the grain creates visible scratches, especially after painting or staining.

Credit: www.youtube.com
Step-by-step: How To Sand Kitchen Cabinets
Let’s break down the process into easy steps. Each step builds on the last, and skipping any can make your finish look uneven.
1. Label And Remove Everything
Before sanding, label each door and drawer with painter’s tape. Mark where each piece belongs. Remove all hardware and place it in labeled bags. This step avoids confusion later.
2. Clean Cabinets Well
Wash all surfaces with degreaser or mild soap and water. Rinse and let dry. Even small grease spots can ruin sanding.
3. Remove Old Paint Or Finish (if Needed)
If your cabinets have thick, glossy, or peeling paint, use a paint stripper or scraper before sanding. This removes most of the old finish, so you don’t wear out sandpaper quickly.
Warning: Always follow instructions on chemical strippers, and wear gloves and a mask.
4. Sand Flat Surfaces First
Attach 120-grit sandpaper to your orbital sander or sanding block. Start with flat panels and large areas. Move the sander in slow, even strokes, always with the grain.
Don’t press too hard—let the sander do the work. Wipe away dust with a vacuum and cloth after this step.
5. Sand Detailed Areas By Hand
Corners, edges, and grooves can’t be reached with a power sander. Use sanding blocks or sanding sponges (120-150 grit) to get into these spots. Take your time. Rushing can round off sharp edges or miss rough spots.
Non-obvious insight: Many people forget to sand the inside edges of cabinet doors, but these are visible when doors are open. Don’t skip them.
6. Smooth Everything With Fine Grit
Switch to 180-220 grit sandpaper or sponge. Go over all surfaces again, including flat and detailed areas. This step removes scratches from rougher grits and gives a silky finish.
7. Vacuum And Wipe Down
Use a vacuum with a brush to remove all dust from surfaces, cracks, and corners. Finish with a tack cloth or damp microfiber cloth to pick up any remaining dust. Paint or stain won’t stick to dusty surfaces.
Beginner mistake: Skipping this step can lead to a rough finish, even after careful sanding.
8. Inspect And Touch Up
Run your hand over each surface. Feel for rough spots, scratches, or missed areas. Sand these lightly with fine grit paper. Double-check corners, edges, and detailed trim.
9. Repeat For Each Cabinet Part
Repeat the above steps for every door, drawer front, and cabinet frame. Consistency is key. Doing a few at a time helps avoid mistakes.
How To Handle Different Cabinet Materials
Not all kitchen cabinets are solid wood. Some are made from MDF (medium-density fiberboard), laminate, or veneered plywood. Each type needs a different approach.
Solid Wood Cabinets
These are the easiest to sand. You can use regular grits (120-220) and sand as much as needed. Be careful near corners to avoid rounding edges.
Veneer Cabinets
Veneer is a thin layer of real wood on top of plywood or particle board. Sand gently with fine grit (150-220) to avoid sanding through the veneer.
Non-obvious insight: If you sand through veneer, you’ll expose the ugly core underneath. Always check edges for thin spots.
Mdf Cabinets
MDF is smooth but soft. Sand lightly with fine grit only (180-220). Too much pressure can damage the surface.
Laminate Cabinets
Laminate is plastic, not wood. You can’t sand it in the same way. Lightly scuff the surface with 150-180 grit to help paint stick, but don’t try to remove the layer.
If you’re not sure what your cabinets are made of, test on a hidden spot first.
Handling Cabinet Hardware And Hinges
Many beginners aren’t sure what to do with hinges, handles, and other hardware. Leaving them on can make sanding difficult and lead to a messy finish.
- Remove all hardware before sanding. This gives better access and avoids scratches on metal.
- Label each bag of screws and hinges with painter’s tape, so you know where each piece goes.
- Check hardware for wear. If your hinges or handles are old, now is a good time to clean, paint, or replace them.
If you must leave hinges on (for built-in or very old cabinets), cover them with painter’s tape to avoid scratching.
Managing Dust And Keeping Your Home Clean
Sanding creates a lot of dust. It settles everywhere if not controlled. Here’s how to keep dust to a minimum:
- Use a sander with a built-in dust bag or vacuum attachment.
- Seal doorways with plastic sheeting and tape.
- Vacuum surfaces after each sanding step.
- Wipe with tack cloths before painting or staining.
Pro tip: Open windows and use fans to move dust outside, but avoid strong drafts, which can blow dust onto wet paint.
Common Mistakes And How To Avoid Them
Even careful DIYers can make mistakes. Here are errors to watch for, and how to avoid them:
- Skipping sanding: Even if cabinets look smooth, paint won’t stick without sanding.
- Using the wrong grit: Coarse grit leaves scratches; too fine doesn’t remove enough finish.
- Sanding against the grain: Always sand with the grain for the best finish.
- Not cleaning first: Grease clogs sandpaper and causes uneven sanding.
- Missing corners and edges: Hand-sand all details for a uniform look.
- Not removing dust: Paint over dust leaves a rough, bumpy surface.
- Rushing: Take your time, especially on the final sanding pass.
How Long Does Sanding Kitchen Cabinets Take?
The time needed depends on the size of your kitchen, the type of finish, and your tools.
| Kitchen Size | Manual Sanding | Power Sander |
|---|---|---|
| Small (10 doors/drawers) | 6-8 hours | 3-4 hours |
| Medium (15-20 doors/drawers) | 10-14 hours | 6-8 hours |
| Large (25+ doors/drawers) | 18-24 hours | 10-14 hours |
Tip: Sanding is often spread over several days. Plan to do one section at a time.
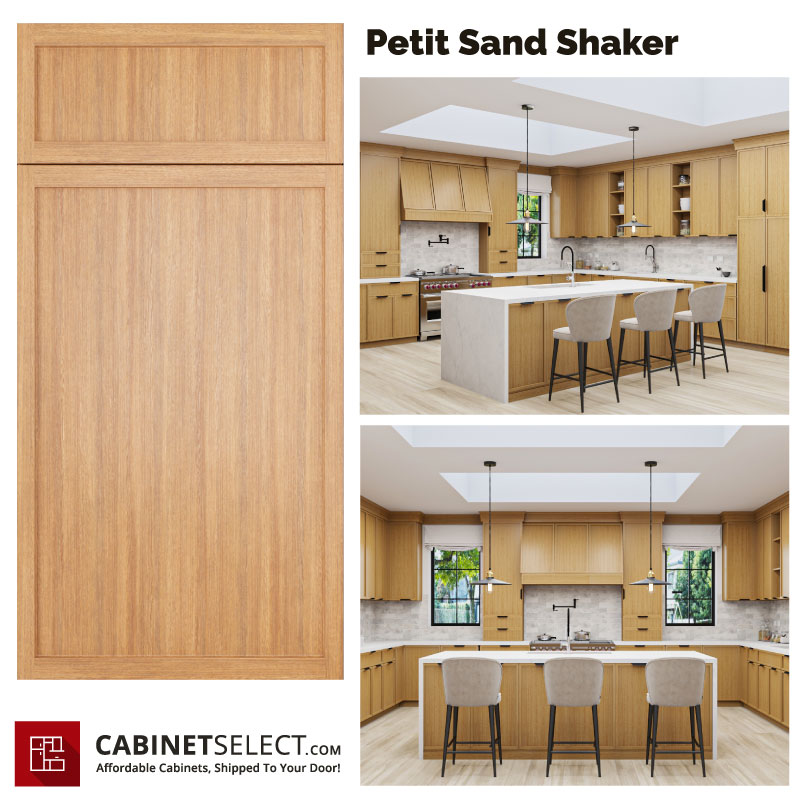
Credit: cabinetselect.com
Should You Sand By Hand Or Use A Power Sander?
Both methods have pros and cons. Here’s a quick look at how they compare:
| Method | Pros | Cons |
|---|---|---|
| Hand Sanding | More control, good for details, cheap | Slow, tiring for large surfaces |
| Power Sander | Fast, smooth finish on large areas | Can’t reach corners, may damage if used carelessly |
Most people use a mix: a power sander for flat panels, and hand sanding for corners and details.
Sanding Between Coats Of Paint Or Stain
If you’re painting or staining your cabinets, light sanding between coats makes the finish smoother and longer-lasting.
- Wait until the first coat is fully dry (check paint can instructions).
- Lightly sand with very fine grit (220-320).
- Wipe away all dust before adding the next coat.
Non-obvious insight: Sanding between coats removes tiny bumps and helps the next layer stick better. Don’t skip this step for a professional finish.
Safety Tips For Sanding Kitchen Cabinets
Safety matters, even for small jobs. Here are a few things to keep in mind:
- Always wear a dust mask or respirator. Wood dust can cause breathing problems.
- Wear safety glasses to protect your eyes.
- Keep children and pets out of the room while sanding.
- Unplug power sanders when changing sandpaper.
- If using chemical paint strippers, work in a well-ventilated area.
After Sanding: What’s Next?
Once sanding is finished and the dust is cleared, you’re ready for the next steps:
- Prime (if painting): Primer helps paint stick, especially on wood or MDF.
- Stain or paint: Follow manufacturer’s instructions for best results.
- Seal (if staining): Use a clear sealer to protect the finish.
- Reattach hardware: Use your labeled bags to put everything back in place.
Take your time with painting or staining—rushing can undo all your careful sanding.
Extra Tips For A Pro-level Finish
- Use quality sandpaper: Cheap sandpaper loses grit and scratches wood.
- Work in good light: Shadows hide missed spots.
- Change sandpaper often: Worn sandpaper slows you down and works poorly.
- Don’t sand too much: If you see bare wood or change the shape of the cabinet, stop and switch to finer grit.
- Test on a hidden area: Always check your technique before sanding visible panels.
When To Call A Professional
Sometimes, hiring a pro is the best option—if you have very old, valuable cabinets, or you want a factory-perfect finish. Professionals have industrial sanders, dust collection systems, and years of experience. For most DIYers, though, careful sanding at home gives great results.
To learn more about wood finishing and sanding, check out this helpful guide from Family Handyman.
Frequently Asked Questions
What Happens If I Don’t Sand My Kitchen Cabinets Before Painting?
If you skip sanding, paint may not stick well. It can peel, chip, or look uneven soon after finishing. Sanding creates a surface that paint can grip.
How Do I Know If I’ve Sanded Enough?
The surface should feel smooth to the touch, with no shiny spots left from old finish. Run your hand over all areas and check for roughness or missed patches. If in doubt, sand a bit more with fine grit.
Can I Use A Liquid Deglosser Instead Of Sanding?
Liquid deglossers can help dull glossy surfaces, but they don’t remove bumps or scratches. For best results, use both: degloss and then sand lightly.
What’s The Best Way To Sand Corners And Details?
Use a sanding sponge or wrap sandpaper around a block for control. Work slowly, and always sand with the wood grain to avoid scratching.
Should I Sand Between Coats Of Paint Or Just Before The First Coat?
For the smoothest finish, lightly sand between every coat of paint or varnish using very fine grit (220-320). This removes dust and small bumps.
Sanding kitchen cabinets is a step that takes effort, but it’s worth it for the results. With the right tools, patience, and attention to detail, you can transform your kitchen and enjoy a finish that lasts for years. Take your time, follow each step, and you’ll be proud of the work you do.