Using your oven as a dehydrator may sound surprising, but it’s a clever way to make healthy snacks, preserve fruits and vegetables, or even create your own dried herbs—without buying a separate appliance. Many people don’t realize how versatile their kitchen oven can be.
With a bit of know-how, you can dry a wide variety of foods at home, saving money and reducing waste. This guide covers every step, from choosing the right foods to adjusting your oven for best results. Even if you’re new to food dehydration, you’ll find simple explanations, safety advice, and tips for getting perfect results.
What Is Food Dehydration?
Food dehydration is the process of removing water from food to make it last longer. When you take away most of the moisture, bacteria and mold cannot grow easily. This means your food stays safe and tasty for a longer time.
Dried foods are light, easy to store, and perfect for quick snacks or recipes.
Common foods for dehydration include:
- Apples, bananas, and other fruits
- Tomatoes, carrots, and other vegetables
- Herbs like basil or oregano
- Meats for making jerky
Dehydration is not new. People have used sun and wind for centuries. Today, dehydrators make this easy, but an oven can do the job well with a few adjustments.
Drying food does more than just preserve it. Many people notice that flavors become stronger after dehydration. For example, dried mangoes taste sweeter, and dried tomatoes are packed with flavor, making them excellent for salads or sauces. The lower weight and reduced size of dried foods also make them practical for camping or travel.
Another often-overlooked benefit is that dried foods require no refrigeration, which saves energy and space.
Why Use Your Oven As A Dehydrator?
You might wonder why use an oven when there are special machines for drying food. Here’s why the oven is a smart choice:
- Saves money: No need to buy a dehydrator.
- More space: Ovens often fit more food than small dehydrators.
- Easy to use: Most kitchens already have an oven.
- Good for beginners: Try dehydration before investing in more equipment.
However, ovens are not perfect. They usually don’t go as low as dehydrators in temperature. But with careful setup and monitoring, you can get great results. Using an oven is also a good way to test if food dehydration is something you enjoy before making a bigger commitment.
Many people do not realize that using an oven is also faster for some foods. Since most ovens have a higher minimum temperature, drying takes less time. The downside is you must check the food more often to avoid over-drying.
For families with kids, an oven’s large trays can handle enough apple chips or veggie crisps for everyone in one batch.
Another hidden benefit: you can multi-task. While your food is drying, you can prepare other meals or clean up the kitchen. The oven’s timer and interior light help you monitor progress without opening the door too often.
How Dehydration Works In An Oven
The key to dehydrating food is low heat and air movement. Low temperatures slowly pull out moisture without cooking the food. Airflow helps carry that moisture away.
Most ovens start at 170°F (77°C) or higher. This is a bit warmer than most dehydrators, which can go as low as 90°F (32°C). Still, you can use the oven’s lowest setting, and with a few tricks (like keeping the door slightly open), you can get close to ideal drying conditions.
Air movement is also important. Some ovens have a fan (convection), which helps. If your oven does not, you can prop the door open to let moisture escape.
A practical example: drying herbs. If you lay fresh basil leaves on a tray in a still, closed oven, they may steam instead of dry. By opening the door and using a fan, you let moisture escape and the leaves become crisp instead of soggy. This principle works for all foods—controlling moisture is as important as controlling heat.
It’s worth noting that all ovens have “hot spots. ” If you notice that food at the edges dries faster than the center, it’s not your fault. This happens in almost every oven. Rotating trays and flipping food are small steps that give much better results.
Preparing Your Oven For Dehydration
Before you start drying food, set up your oven the right way:
- Clean the oven: Remove old crumbs or spills. These can add unwanted smells.
- Remove extra racks: Use just one or two racks. Space for air is important.
- Line trays: Use parchment paper or silicone mats. Avoid wax paper—it can melt.
- Set oven to lowest temperature: Usually between 150–170°F (65–77°C). Lower is better to avoid cooking.
- Increase airflow: If safe, prop the oven door open about 1–2 inches. Use a wooden spoon to keep it open. This lets moisture escape.
- Consider a fan: If you have a convection oven, use the fan setting for better air movement.
If you want more air movement but don’t have a convection oven, you can use a small portable fan facing the oven opening (on low speed). This trick is especially helpful in humid climates.
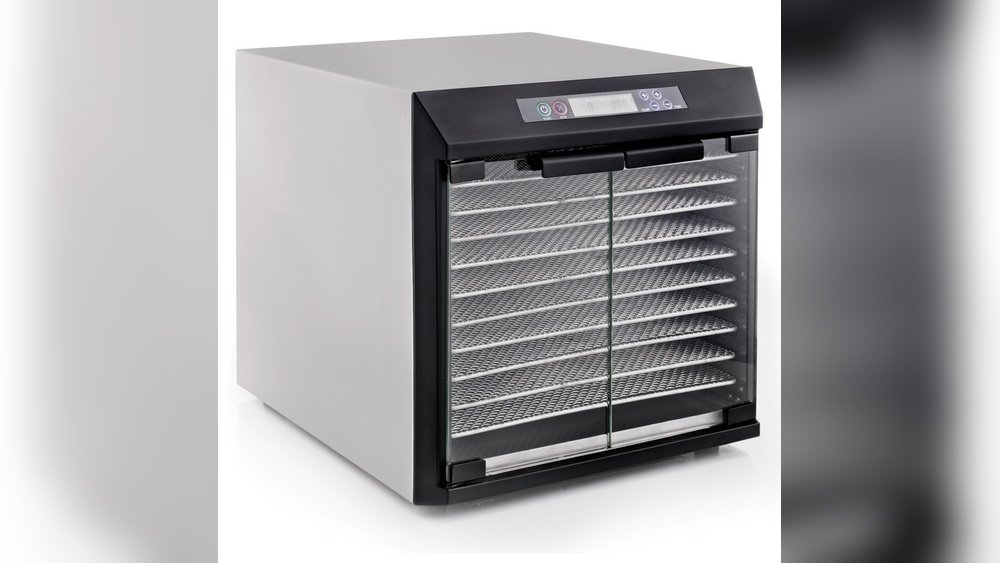
Oven Vs. Dehydrator: Quick Comparison
See how ovens and dehydrators compare for home use.
| Feature | Oven | Dehydrator |
|---|---|---|
| Temperature Control | Less precise (usually 150–170°F min.) | Very precise (as low as 90°F) |
| Air Flow | Needs door open or convection | Built-in fan for constant air |
| Capacity | Large (full oven trays) | Varies (usually smaller) |
| Cost | Already owned | $40–$300+ |
| Energy Use | Higher (not energy efficient) | Lower (designed for drying) |
One detail beginners miss: ovens cycle on and off to hold temperature, while dehydrators provide steady warmth. This means you may notice food drying unevenly or more browning in an oven.
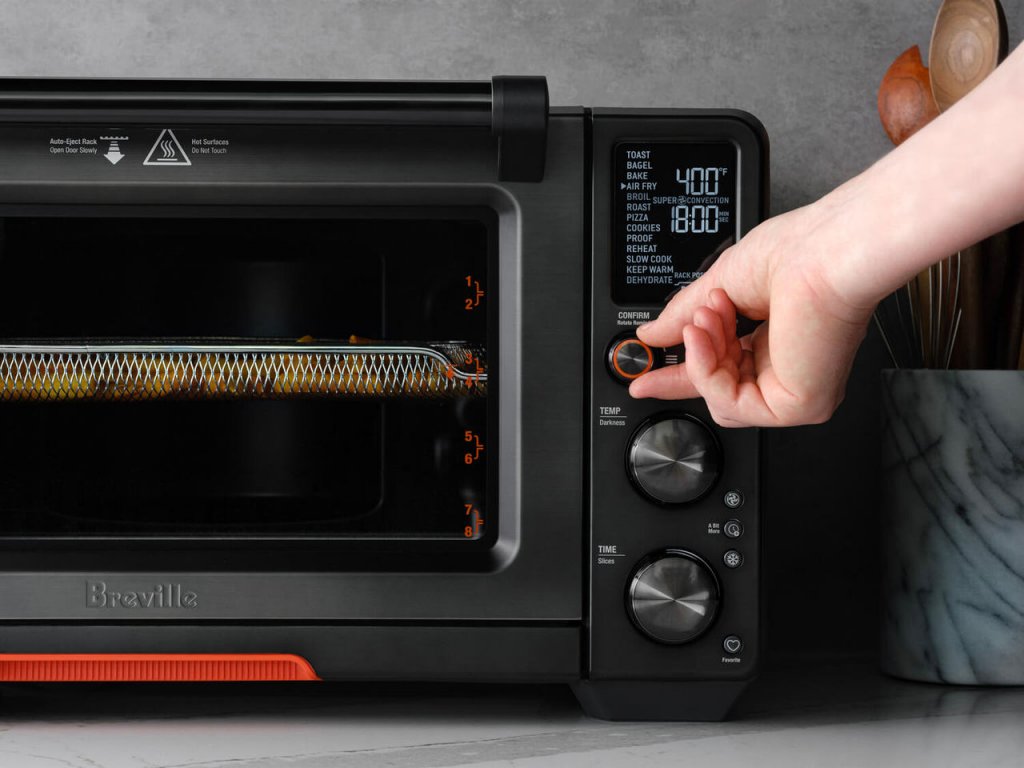
Credit: www.breville.com
Choosing Foods To Dehydrate
Not all foods are equal when it comes to oven dehydration. Some dry easily and taste great, while others are less suitable. Here are good options:
Fruits
Best choices:
- Apples
- Bananas
- Strawberries
- Mangoes
- Pineapple
- Pears
Fruits with high sugar taste sweeter when dried. Slice thin for best results.
You can also dry grapes to make homemade raisins, or even experiment with citrus peels for homemade zest. If you like sour flavors, try drying cranberries, but remember to cut them in half to let moisture escape.
Vegetables
Best choices:
- Carrots
- Zucchini
- Tomatoes
- Peppers
- Mushrooms
Cut vegetables evenly. Blanching some (like carrots) before drying keeps color and texture.
Unusual vegetables like beets, sweet potatoes, or even green beans can be dried for snacks or soups. The thinner you slice, the faster and more evenly they dry. For tomatoes, removing seeds speeds up drying and creates a better texture.
Herbs
- Basil
- Parsley
- Oregano
- Thyme
Herbs dry quickly. Place them in a single layer.
You can also dry edible flowers (like chamomile or calendula) for tea. Always check that your herbs or flowers are safe to eat before drying.
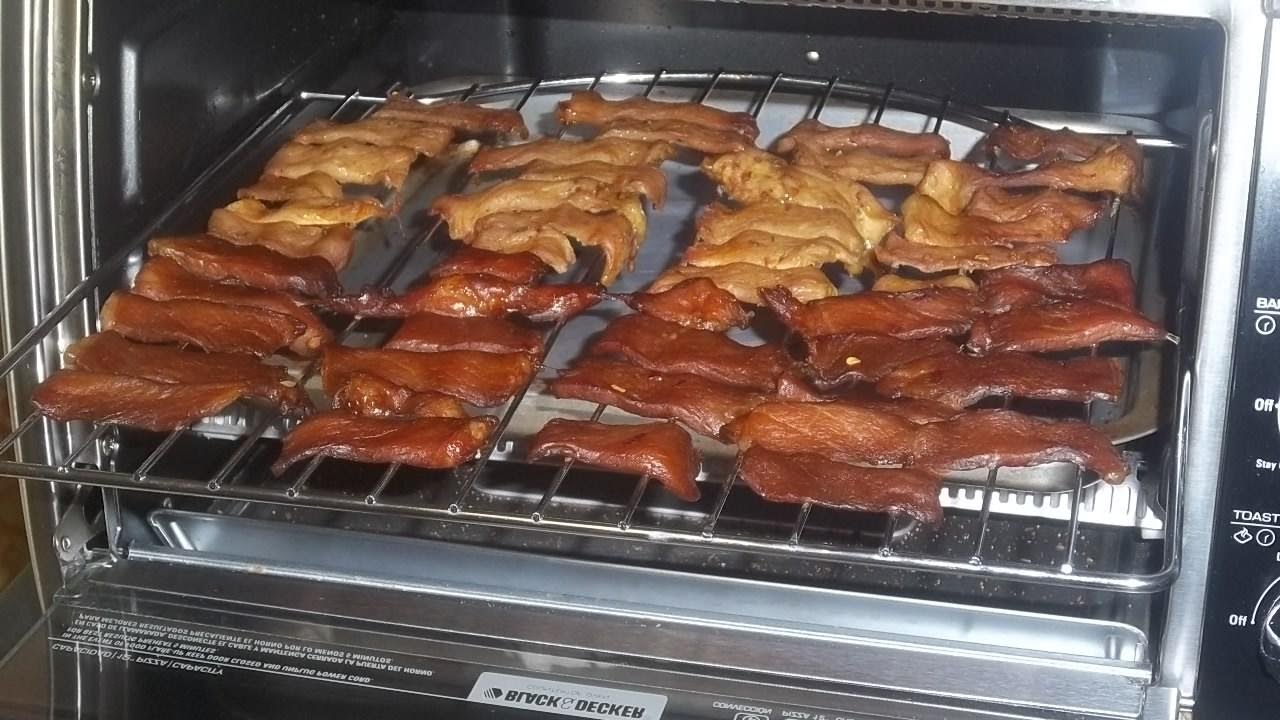
Meat (jerky)
- Beef
- Turkey
- Chicken
Use lean cuts. Marinate and pre-cook for safety.
For jerky, remove all visible fat before slicing. Fat does not dry well and can spoil quickly. You can make jerky from game meats (like venison) if handled safely.
Foods To Avoid
- Foods with high fat (cheese, avocados)
- Thick foods that trap moisture
- Eggs (not safe to dehydrate at home)
High-fat foods can turn rancid. Some foods, like potatoes or beans, need special preparation (pre-cooking) to be safe and tasty after drying.
Preparing Food For Dehydration
Good preparation is key. Here’s how:
- Wash and dry: Clean all foods well.
- Peel or core if needed: For example, peel apples, core pears.
- Cut evenly: Aim for slices 1/8 to 1/4 inch thick. Uneven pieces dry unevenly.
- Blanch vegetables: Some veggies need quick boiling (2–3 minutes) then ice water. This helps keep color and texture.
- Treat fruits to prevent browning: Dip in lemon juice or ascorbic acid solution for 1–2 minutes.
- Marinate meats for jerky: Always marinate, then pre-cook to at least 165°F (74°C) in the oven before drying.
- Arrange food in a single layer: Overlapping slows drying.
If you have a mandoline slicer, use it for even, thin slices. This simple tool can save a lot of time, especially for apples, carrots, or potatoes.
Quick Prep Example: Apple Chips
- Wash apples and remove core.
- Slice thin (1/8 inch).
- Dip in lemon juice for 1 minute.
- Arrange on tray with parchment paper.
You can sprinkle a little cinnamon on apple slices before drying for extra flavor. For a savory twist, try chili powder or smoked paprika on zucchini chips.
Setting Up Your Oven For Drying
Here’s how to get your oven ready for best results:
- Set oven to lowest temperature: 150–170°F (65–77°C) is best.
- Place food trays in the center: This helps even heating.
- Keep door slightly open: Use a wooden spoon or heat-proof item. This lets moisture out and keeps temperature lower.
- Flip food halfway through: For even drying, turn pieces after half the time.
- Rotate trays: Swap top and bottom trays if using more than one.
If you’re drying different types of food at once, keep them on separate trays. Strong-smelling foods (like onions or garlic) can flavor everything else in the oven.
Temperature Control Tips
- Use an oven thermometer for better accuracy. Oven dials can be off by 10–30°F.
- If your oven runs hot, leave the door more open or turn off for a few minutes.
- Don’t set oven below 140°F (60°C) for meat—bacteria can grow if too low.
A non-obvious tip: If your oven does not go below 170°F (77°C), you can cycle the oven on and off—ten minutes on, ten minutes off—to keep the temperature lower. But be careful and monitor often.
How Long Does It Take To Dehydrate Foods In The Oven?
Drying time depends on food, thickness, and humidity. Here are typical times:
| Food | Oven Temp | Drying Time |
|---|---|---|
| Apple slices | 150°F (65°C) | 5–8 hours |
| Banana slices | 150°F (65°C) | 6–10 hours |
| Tomatoes (halved) | 170°F (77°C) | 6–12 hours |
| Beef jerky (strips) | 170°F (77°C) | 4–6 hours after pre-cooking |
| Herbs | 150°F (65°C) | 1–3 hours |
Non-obvious insight: Humidity in your kitchen can lengthen drying time. Rainy days may slow the process, so allow extra hours if the air feels damp.
Also, drying more food at once can slightly increase drying time. If your trays are crowded, check the food in the center—these pieces may need more time.
Signs That Food Is Properly Dehydrated
How do you know when your food is dry enough? Look for these signs:
- Fruits: Should be dry but still flexible, not sticky. If you bend a slice and it tears, it’s dry.
- Vegetables: Usually crisp or leathery. Snap easily.
- Herbs: Crumble when pressed.
- Jerky: Should be dry, chewy, and not sticky. Bend without breaking.
Let food cool before checking. Warm food feels softer.
A smart trick: Place a small piece of dried food in a sealed bag or jar overnight. If you see condensation the next day, it needs more drying.
Common Beginner Mistake
Many people under-dry food, thinking it is done when still a bit soft. Always cool, then check texture. If in doubt, dry a little longer.
It’s better to overdry slightly than to risk spoilage. Dried foods can always be softened later by soaking in water, but they cannot be “fixed” if mold develops.
Storing Home-dehydrated Food
Proper storage keeps food fresh and safe. Follow these steps:
- Cool completely: Never pack warm food—this traps moisture.
- Choose airtight containers: Use glass jars, vacuum bags, or food-safe plastic.
- Keep in a cool, dark place: Sunlight and heat reduce shelf life.
- Add desiccant packs: For extra dryness, add a food-safe silica gel pack.
- Label with date: Most home-dried foods last 6 months to 1 year if stored well.
For best results, fill containers to the top to reduce air inside. If you notice food sticking together after a few days, open the container and dry it again.
Storage Time Comparison
| Food Type | Room Temp (Months) | Refrigerator (Months) | Freezer (Years) |
|---|---|---|---|
| Dried fruits | 6–12 | 18 | 1–2 |
| Dried vegetables | 6–12 | 18 | 1–2 |
| Jerky (meat) | 1–2 | 6 | 1 |
| Herbs | 6–12 | 18 | 2 |
Credit: food-hacks.wonderhowto.com
Safety Tips For Oven Dehydration
Food safety matters. Here’s how to keep your dried foods safe:
- Wash hands and tools: Cleanliness prevents bacteria.
- Don’t mix raw meat and produce: Use separate cutting boards and trays.
- Pre-cook meat for jerky: Heat meat to 165°F (74°C) before drying.
- Watch for signs of spoilage: If dried food smells off, is sticky, or has mold, throw it away.
- Check oven temperature: Use a thermometer for accuracy.
Non-obvious insight: Even small amounts of trapped moisture can lead to mold. When in doubt, dry a bit longer.
It’s also important to use fresh ingredients. Old or bruised fruits may already have bacteria or mold spores, making safe drying harder. Always start with the best quality food you can.
Troubleshooting Common Problems
Food Dried Unevenly
- Solution: Cut food in even slices. Rotate trays and flip food halfway.
If you notice some pieces are crispy while others remain soft, remove the dry ones and return the rest to the oven. This prevents over-drying.
Food Is Too Hard Or Brittle
- Solution: Oven may be too hot. Lower temperature or open door more.
Some foods, like herbs, will always be brittle. For fruits, try slicing a bit thicker next time.
Food Tastes Burnt
- Solution: Reduce oven temperature and check more often.
Some natural sugars (like in bananas) can burn quickly if the oven is too hot. It’s better to check every 30–60 minutes than to risk an entire batch.
Food Feels Sticky After Cooling
- Solution: Not dry enough. Return to oven for more time.
Sticky food is not safe for long storage. Taste a piece—if it’s sweet but not chewy, it needs more drying.
Condensation In Storage
- Solution: Food was packed warm or not fully dry. Remove, dry again, and cool before storing.
You can also add a desiccant pack to absorb any extra moisture.

Credit: cosori.com
Creative Ways To Use Oven-dehydrated Foods
Once you’ve mastered oven dehydration, you have many new kitchen options:
- Snacks: Apple chips, banana chips, veggie crisps
- Trail mixes: Combine dried fruits, nuts, and seeds
- Soup ingredients: Dried carrots, onions, and herbs
- Smoothie boosters: Powder dried fruits or greens
- Herb blends: Mix your own Italian seasoning
- Homemade jerky: High-protein snacks for trips
Example: Dried tomato slices add rich flavor to salads or pasta. Crumble dried mushrooms into sauces for an umami boost.
Dried fruits are great for kids’ lunchboxes. Powdered greens (spinach or kale) can be hidden in smoothies or soups for extra nutrition. You can even make your own “instant soup jars” by layering dried vegetables, noodles, and spices—just add hot water.
Advantages And Limitations Of Using An Oven
Advantages
- No extra cost: Use what you have.
- Large batches: Great for big harvests or meal prep.
- Easy to monitor: You can check food often.
Ovens are perfect for people who want to try dehydration without buying new equipment. If you grow your own fruits or buy in bulk, the oven lets you handle large amounts at once.
Limitations
- Less precise: Temperature may be higher than needed.
- Uses more energy: Ovens are less efficient for long jobs.
- Needs attention: Must check food often to avoid over-drying or burning.
You’ll need to stay nearby, especially for your first few tries. Ovens also heat up the kitchen, which can be a problem in hot weather.
Cleaning Up After Dehydration
Don’t forget to clean up for the next use:
- Let oven cool: Remove trays and wipe inside with a damp cloth.
- Wash trays and liners: Use hot, soapy water.
- Air out oven: Leave door open for a few minutes to clear any odors.
Tip: Use parchment or silicone mats for easy clean-up.
If you dried strong-smelling foods, like garlic or fish, you may need to wipe the oven with vinegar and water to remove odors.
Should You Buy A Dehydrator?
If you love dried foods and make them often, a dedicated dehydrator may be worth the investment. Dehydrators offer:
- Lower temperatures
- Even airflow
- Better energy efficiency
But for most home cooks, the oven is a great way to start. Try several batches and see how you like the process.
Many people begin with an oven and upgrade later. When you’re ready for a dehydrator, look for one with adjustable temperature, multiple trays, and easy cleaning.
For more detailed comparisons and science on dehydration, check out this Wikipedia overview.
Frequently Asked Questions
How Do I Keep My Oven Door Open Safely For Dehydration?
Use a wooden spoon, heat-proof silicone spatula, or rolled-up towel to keep the door slightly ajar—about 1–2 inches. This lets moisture escape. Stay nearby for safety, especially if you have children or pets.
Can I Dehydrate Foods Overnight In The Oven?
It’s not recommended. Ovens can be a fire risk if left unattended for many hours. Dehydrate during the day when you can check regularly.
Do I Need Special Trays Or Racks For Oven Dehydration?
No, but thin wire racks or baking sheets lined with parchment paper work best. Avoid non-stick sheets that aren’t rated for high heat. For very small foods (like herbs), use fine mesh screens.
How Do I Know If My Dried Food Is Safe To Eat?
Check that food is dry (not sticky or soft), has no mold, and smells normal. Store in airtight containers. If you see moisture or mold later, discard food—do not taste.
Can I Use My Oven To Dehydrate All Foods?
Some foods (like cheese or fatty meats) do not dry well and can spoil. Stick to fruits, vegetables, herbs, and lean meats for jerky. Always follow safe handling and storage guidelines.
Turning your oven into a dehydrator is a smart way to explore food preservation without buying more tools. With care and practice, you’ll enjoy homemade snacks and ingredients that last for months. Try different foods, experiment with flavors, and enjoy the satisfaction of making healthy options right in your own kitchen.