Changing the color of your Corian countertops can breathe new life into your kitchen or bathroom without the high cost of replacement. Many homeowners wonder if it’s even possible. The answer is yes—but it’s not as simple as painting a wall or staining wood. Corian is a solid-surface material made from acrylic polymer and natural minerals. Its non-porous and durable nature means it handles color differently than laminate or natural stone. If you’re thinking about changing your countertop color, you need a clear plan, proper materials, and realistic expectations.
This guide walks you through every step, from understanding how Corian reacts to paint to detailed preparation, application methods, and long-term care. You’ll learn about the pros and cons of DIY vs. professional refinishing, how to pick the right products, and which mistakes to avoid.
If you want a fresh look without replacing your countertops, read on—you’ll find everything you need to know to make a smart, lasting change.
Understanding Corian Countertops
Before you start, it’s important to know what makes Corian unique. Corian is a brand of solid surface material created by DuPont. It’s made of about one-third acrylic resin and two-thirds natural minerals, mostly aluminum trihydrate. This blend creates a smooth, durable, and non-porous surface.
Why Corian Is Different
Corian is not porous like granite or marble. It won’t absorb stains or moisture, which makes it resistant to mold and bacteria. However, its non-porous nature also means regular paint and stains don’t absorb well. The color in Corian runs through the material, so scratches or chips don’t reveal a different color underneath.
Can You Change The Color?
Yes, you can change the color, but it’s not as simple as applying standard paint. The surface must be prepared so the new finish sticks and lasts. There are two main methods: painting and refinishing. Painting adds a new surface layer, while refinishing involves sanding and applying a specialty coating. Each method has advantages and trade-offs, which we’ll discuss in detail.
Reasons To Change The Color Of Corian Countertops
Many homeowners consider changing their countertop color for several reasons:
- Outdated style: Old colors or patterns can make a kitchen look dated.
- Damage or discoloration: Scratches, burns, or stains can be hard to remove.
- Matching new décor: Renovations often mean the current color no longer fits the room.
- Increase home value: Modern, neutral colors attract more buyers.
- Personal preference: Sometimes, you just want a fresh look.
Changing your countertop color is often cheaper than replacing them, with less mess and downtime.
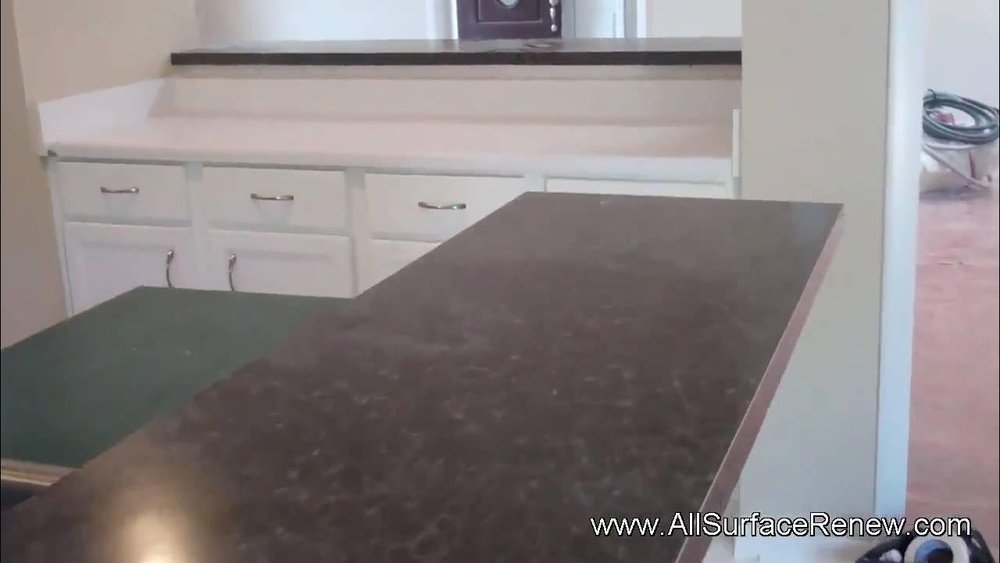
Credit: discover.hubpages.com
Diy Vs. Professional Refinishing
One of the first decisions is whether to do it yourself or hire a professional. Here’s a quick comparison:
| Factor | DIY | Professional |
|---|---|---|
| Cost | Lower ($100–$300) | Higher ($400–$1,500+) |
| Skill Needed | Moderate to high | Low (done for you) |
| Durability | Good with proper prep | Usually longer-lasting |
| Time | 1–3 days | 1–2 days |
| Finish Quality | Varies | Professional, smooth |
| Warranty | None | Often included |
If you want a guaranteed, factory-like finish, a professional is best. If you have time, patience, and some skill, a DIY project can save money and still look great.
How To Change The Color Of Corian Countertops: Step-by-step
Changing the color involves several stages: preparation, priming, painting or refinishing, sealing, and curing. Skipping steps or using the wrong products can lead to peeling or damage.
1. Gather Your Materials
For a high-quality result, you need the right supplies. Here’s what you’ll need for most DIY methods:
- Mild detergent and water (for cleaning)
- Isopropyl alcohol (for final wipe-down)
- Fine-grit sandpaper (220–320 grit)
- Tack cloth (removes dust)
- Painter’s tape and plastic sheeting
- High-quality primer (bonding or adhesion primer)
- Acrylic urethane paint or epoxy paint (choose the right type for durability)
- Foam rollers and brushes
- Respirator mask and gloves
- Clear topcoat or sealer (for extra protection)
If you hire a professional, they may use commercial refinishing kits or spray systems not available to consumers.
2. Clear And Protect The Area
Remove everything from the countertops. Cover cabinets, floors, and appliances with plastic sheets. Use painter’s tape to protect backsplashes, sinks, and walls. Good prep is essential—a stray drop of paint can be hard to remove from tile or wood.
3. Thoroughly Clean The Surface
Any grease, dirt, or residue will prevent paint from sticking. Wash the countertop with mild detergent and warm water. Rinse and dry completely. Next, wipe the surface with isopropyl alcohol to remove any remaining oils. Let it air dry for at least 30 minutes before the next step.
4. Sand The Surface
Sanding is vital for a lasting finish. Use 220- to 320-grit sandpaper to lightly scuff the entire surface. Sand in small circles and cover every inch. The goal is to remove gloss and create a surface the primer can grip.
Don’t sand too aggressively—just enough to dull the shine. After sanding, wipe the surface with a tack cloth to remove all dust.
5. Apply A Bonding Primer
Corian’s smooth surface makes primer essential. Use a high-quality bonding primer designed for plastics or laminates. Apply a thin, even coat with a foam roller for smoothness. Let it dry according to the manufacturer’s instructions—usually 1–2 hours. For best results, apply a second coat and let dry fully.
6. Paint The Countertop
When the primer is dry, it’s time for color. Choose acrylic urethane or epoxy paint for the best durability. Regular wall paint will chip and peel. Apply thin coats with a foam roller, working in long, even strokes. Two or three thin coats are better than one thick one. Let each coat dry before adding the next (usually 4–6 hours between coats).
Tips For Best Results
- Work in a well-ventilated space.
- Keep dust and pets away while painting and drying.
- Don’t rush—patience leads to a smoother finish.
7. Apply A Protective Topcoat
After the final paint layer is completely dry, seal it with a clear polyurethane or epoxy topcoat. This protects against scratches, stains, and water. Apply at least two thin coats, letting each dry as directed. Don’t use the countertop until the topcoat is fully cured (often 24–72 hours).
8. Clean Up And Reinstall
Remove all tape and coverings carefully. Check for any missed spots and touch up if needed. Wait a full week before heavy use—this allows the finish to reach maximum hardness.
Methods For Changing Color: Paint Vs. Refinish
You can change Corian’s color using two main methods. Each has its own pros and cons.
Painting
Painting adds a colored layer on top of the existing surface.
Pros:
- Wide choice of colors and finishes (matte, satin, gloss)
- Less expensive
- Can be done as a weekend project
Cons:
- May show brush marks if not applied well
- Prone to scratches if not sealed properly
- Needs reapplication every few years
Refinishing With Specialty Coatings
Refinishing involves applying a commercial solid-surface coating, often sprayed on by professionals.
Pros:
- Thicker, more durable finish
- Looks and feels like factory Corian
- Can include patterns or faux stone effects
Cons:
- Costs more
- Fewer color options
- Usually requires a pro
Comparing Results
| Aspect | Paint | Refinish |
|---|---|---|
| Durability | 2–5 years | 5–10 years |
| Look | Good with skill | Like new |
| Cost | $100–$300 | $400–$1,500 |
| DIY Friendly | Yes | No |
| Color Choices | Unlimited | Limited |
How To Pick The Right Paint Or Coating
Not all paints or coatings will work. Here’s what to look for:
- Acrylic urethane or epoxy: These bond well and handle kitchen wear.
- Bonding primer: Always use a primer meant for slick or non-porous surfaces.
- Non-yellowing formula: Kitchens get a lot of sunlight; some products turn yellow over time.
- Low-VOC or no-VOC: Safer for indoor air quality.
- Color stability: Ask for products that resist fading.
Avoid standard latex or oil-based paints—they rarely stick well to Corian.

Credit: www.youtube.com
Color Choices And Trends
The beauty of painting is the freedom to choose almost any color. Popular choices today include:
- Bright white for a clean, modern look
- Soft grays for a neutral style
- Deep blue or emerald green for a bold statement
- Black for drama, though it shows dust and scratches easily
- Faux stone finishes to mimic granite or marble
If you want to mimic the look of real stone, specialty kits are available that include multiple paint colors and a final clear coat.
Practical Tips For A Professional-looking Finish
Even beginners can get great results with careful prep and patience. Here are some tips that most first-timers miss:
- Test in a hidden spot first. Not all surfaces react the same—try your process on a small area under the sink.
- Mix paint thoroughly every time you pour a new tray. Color can separate if left sitting.
- Keep a wet edge. Work quickly so each section blends into the next without visible lines.
- Use foam rollers instead of brushes for smoother results and fewer marks.
- Sand lightly between coats with fine paper for a glassy finish.
- Don’t skip the topcoat—it’s what protects your hard work.
Common Mistakes To Avoid
Many DIY projects fail for the same reasons:
- Poor cleaning: Grease or soap residue causes peeling.
- Skipping primer: Paint won’t bond and will chip.
- Rushing coats: Not letting each layer dry leads to smudging or bubbles.
- Wrong paint type: Latex wall paint won’t last on countertops.
- No topcoat: Surfaces scratch and stain easily without protection.
Take your time—every step matters for a beautiful, long-lasting finish.
Maintenance After Color Change
Care for your refinished Corian like you would for new countertops. Here’s how to keep them looking their best:
- Clean with mild soap and water; avoid abrasive scrubs or pads.
- Wipe up spills quickly, especially oil, wine, or coffee.
- Use cutting boards; don’t cut directly on the surface.
- Avoid hot pans—always use trivets or heat pads.
- Don’t use harsh chemicals like oven cleaner or bleach.
With proper care, your new color can look great for years.
When To Replace Instead Of Refinish
Not every countertop can be saved with a color change. Consider replacement if:
- The surface has deep cracks, large burns, or holes.
- The countertop is warped or separating from cabinets.
- The cost of refinishing approaches that of new Corian.
If your countertop is in good shape but looks dated, refinishing is a smart, eco-friendly choice.
Environmental Impact
Refinishing instead of replacing your countertops keeps waste out of landfills. Most Corian material is non-recyclable, so giving it a new look extends its life. Choose low-VOC paints and primers to reduce indoor air pollution.
How Much Does It Cost?
Here’s a breakdown of typical costs:
- DIY supplies: $100–$300 for paint, primer, sandpaper, rollers, and sealer.
- Professional refinishing: $400–$1,500+, depending on kitchen size and finish type.
- New Corian countertops: $2,200–$5,000+ for materials and installation.
For many, refinishing offers the best balance of cost, speed, and style.
Real-life Examples
Many homeowners have transformed their kitchens with a simple color change. For example, a family in Texas updated their 1990s beige Corian to soft white with a subtle faux marble pattern. The total DIY cost was under $200 and took a long weekend.
After two years, the finish still looked great with only minor touch-ups.
Another example: a small restaurant in Oregon hired a pro to change their faded blue Corian to sleek black. The project took two days and cost $900—far less than replacing 30 feet of countertop.
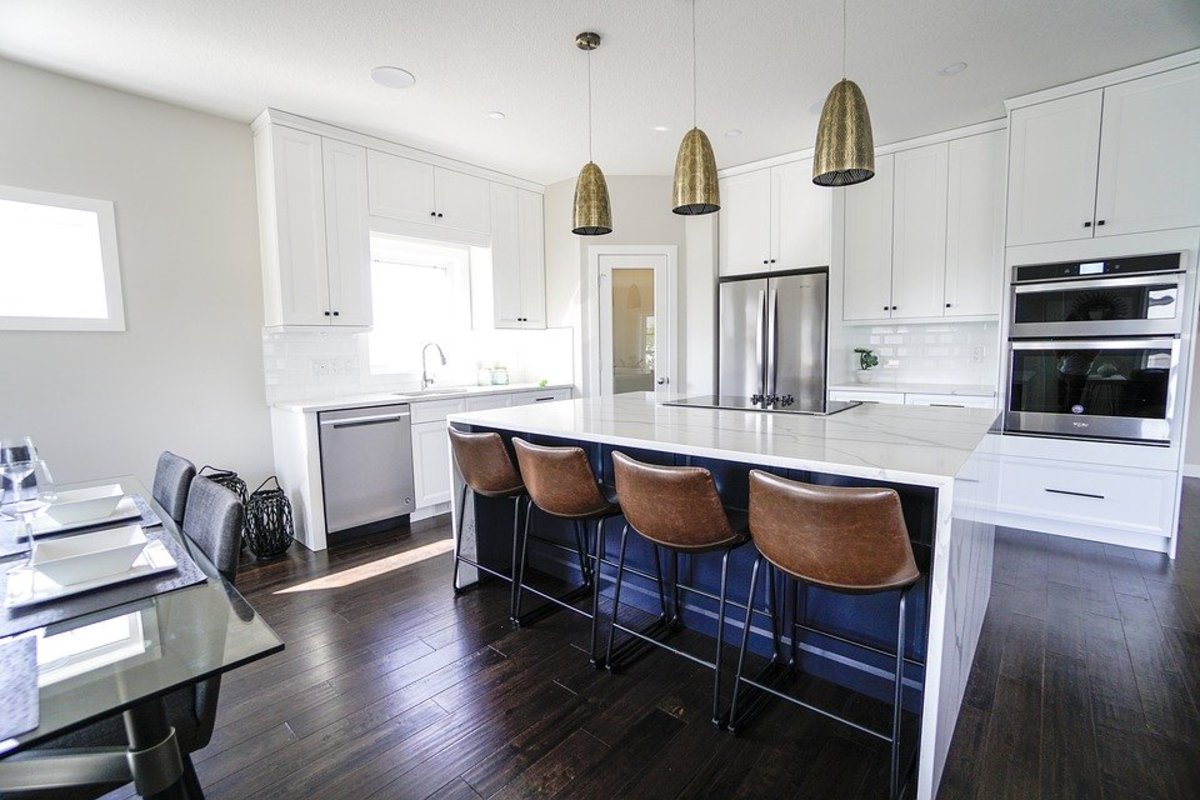
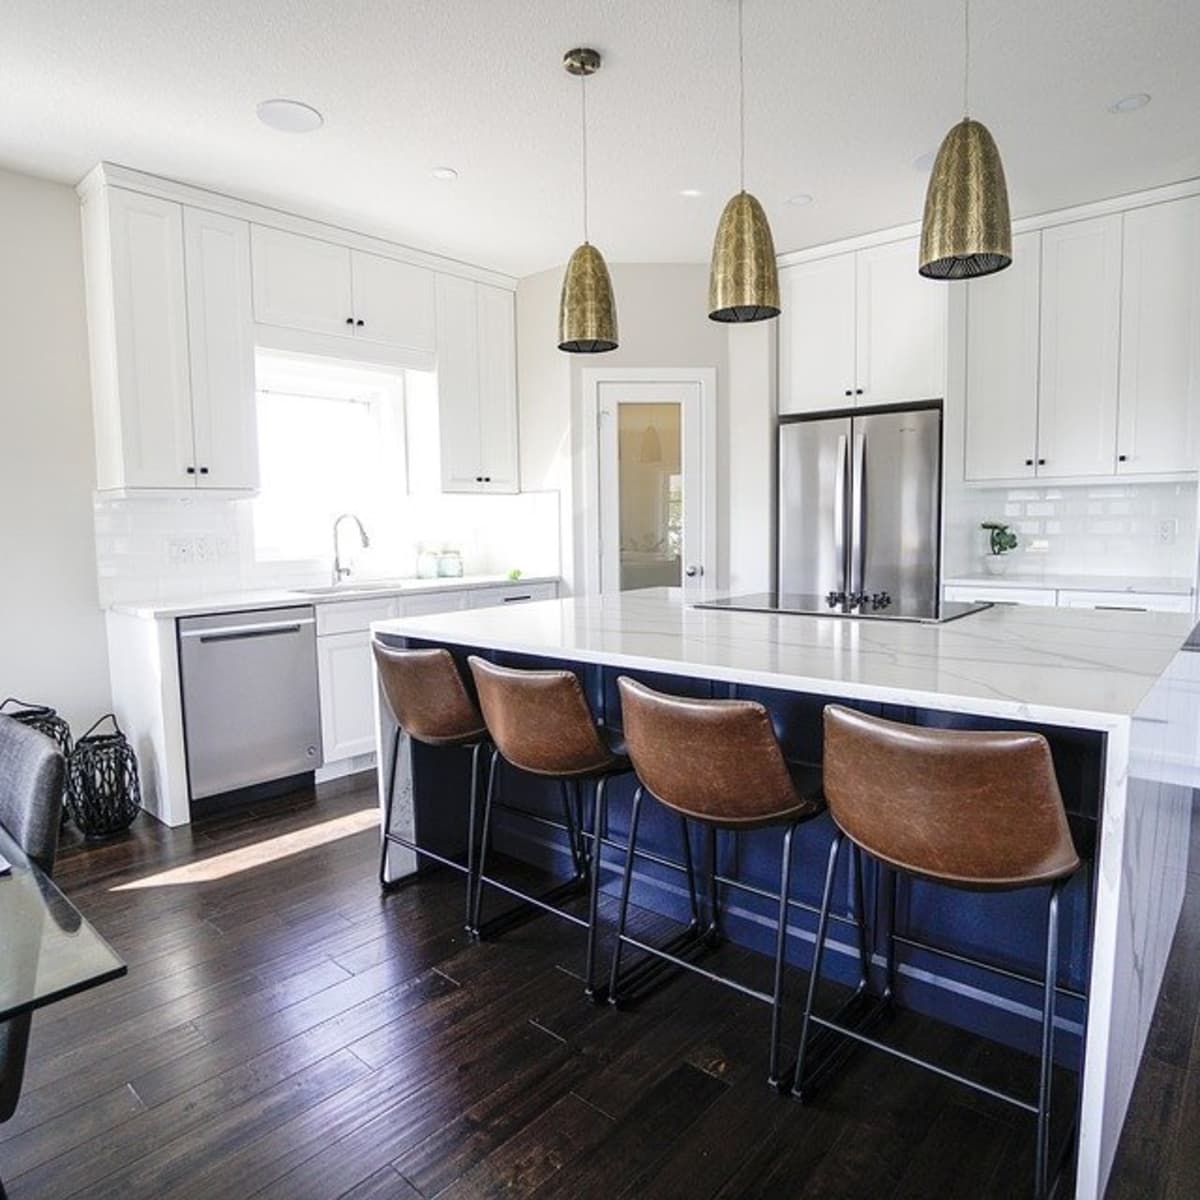
Credit: discover.hubpages.com
Safety Notes
Always use a respirator mask and ventilate the area well. Paint fumes can be strong. Keep children and pets away during the process and drying time. Dispose of used paint, primer, and cleaning cloths according to local regulations.
Comparing With Other Countertop Materials
How does Corian compare to granite, quartz, and laminate when it comes to color changes?
| Material | Can Be Painted? | Ease of Process | Durability |
|---|---|---|---|
| Corian | Yes (with prep) | Moderate | Good if sealed |
| Granite | Rarely (not recommended) | Difficult | Poor (paint peels) |
| Quartz | No (color locked in) | Not possible | N/A |
| Laminate | Yes | Easy | Good with the right products |
Corian is one of the few premium surfaces where color changes are possible without a full replacement.
Expert Insight: Is It Worth It?
Many kitchen remodelers say that refinishing Corian makes sense for those on a budget or those wanting a quick style update. However, not all surfaces hold paint equally well—proper prep is the key. If you’re unsure, consult a professional for an evaluation.
For more technical details about Corian’s composition and maintenance, you can visit the official Corian Wikipedia page.
Frequently Asked Questions
What Kind Of Paint Works Best On Corian Countertops?
The best paint is acrylic urethane or epoxy paint. These types are designed to bond with non-porous surfaces like Corian and resist kitchen wear. Always use a bonding primer before painting.
How Long Does A Painted Corian Countertop Last?
A well-prepared and properly sealed surface can last 2 to 5 years before needing touch-ups. Professional refinishing may last up to 10 years. Longevity depends on use and care.
Can I Use Regular Wall Paint On Corian?
No, regular wall paint won’t stick well and will chip or peel quickly. Use products made for countertops, plastics, or solid surfaces.
How Do I Fix Chips Or Scratches After Painting?
Small chips or scratches can be fixed by lightly sanding the area and touching up with leftover paint and topcoat. For larger damage, you may need to refinish the whole surface.
Is Changing The Color Of Corian Countertops A Good Diy Project?
Yes, if you have patience and attention to detail. The process takes time but is not difficult with careful prep. For best results, follow each step and don’t skip cleaning, sanding, or sealing.
Changing the color of your Corian countertops is a smart way to upgrade your space without a major renovation. By following these steps, you can get a fresh look and add value to your home with confidence.