Kashering an electric stove top is a key process in making a kitchen kosher, especially before Passover or when moving into a new home. For many people, the idea can feel confusing or even overwhelming. But with the right steps, anyone can do it safely and correctly.
This article will guide you in clear language through everything you need to know about kashering your electric stove top. Whether you are preparing for a Jewish holiday or making your kitchen kosher year-round, you’ll find all the details, tips, and practical examples you need here.
What Does Kashering Mean?
Kashering is the process of making utensils, appliances, and surfaces kosher—meaning fit for use according to Jewish dietary laws. In the kitchen, this often means removing traces of non-kosher food or chametz (leaven) from surfaces that come into direct contact with food. Kashering is especially important before Passover, but it’s also done when moving into a new home or after a non-kosher item was used on the stove.
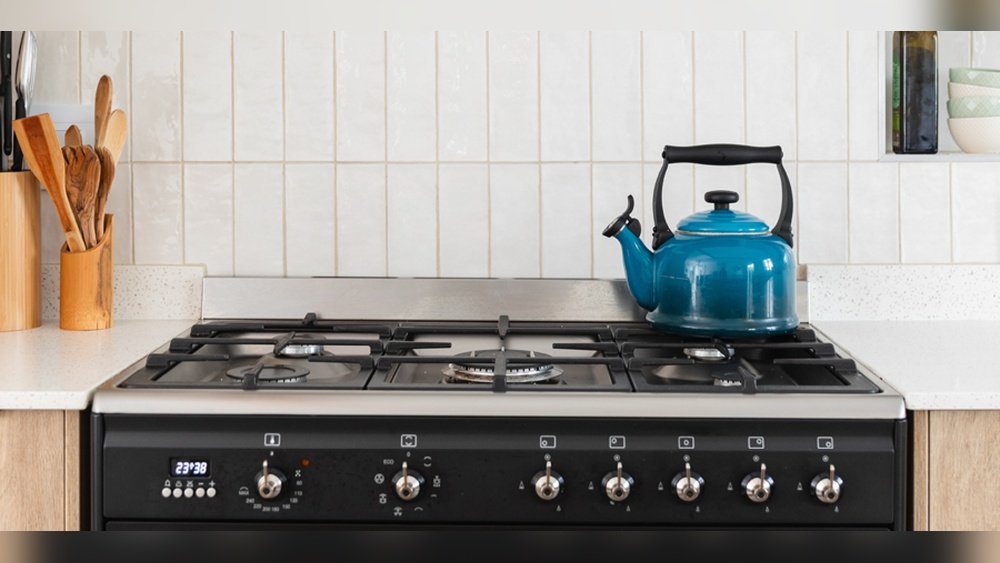
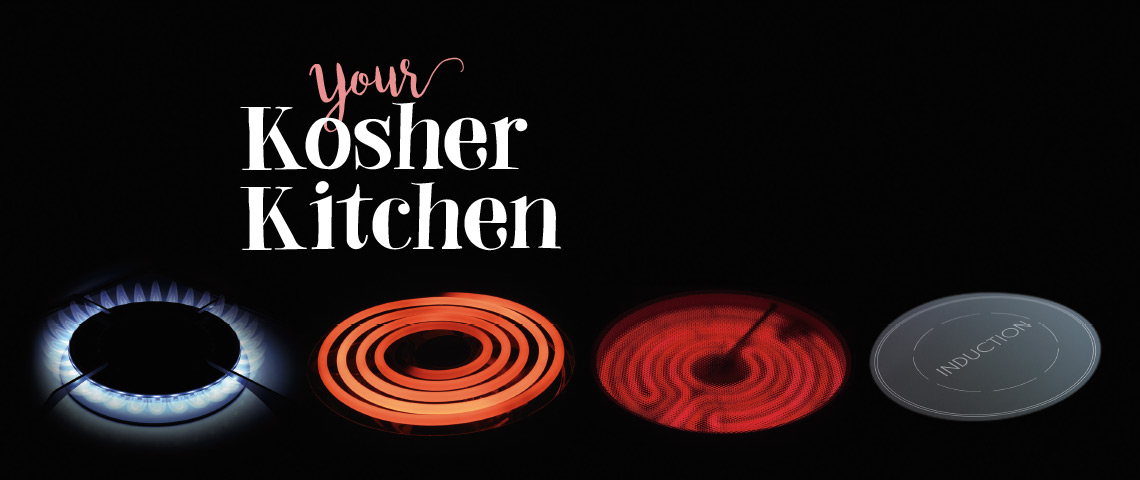
The methods for kashering depend on the material and how the item is used. For stoves, the process is different for gas, electric, and glass-ceramic models. This article will focus on the standard electric coil stove tops, which are common in many homes.
Why Kasher An Electric Stove Top?
Many people wonder why kashering an electric stove top is so important. The answer is rooted in how the stove is used. Stove tops often come into contact with food spills, pots, and sometimes even direct food items. Over time, residue from non-kosher foods or chametz can build up.
If you want to keep a kosher kitchen, it’s necessary to remove any trace of forbidden foods. This ensures that when you cook next, you are not mixing kosher and non-kosher (or chametz and non-chametz) residues. For Passover, this is especially strict, as even a tiny crumb of chametz is not allowed.
Credit: cor.ca
When Should You Kasher Your Stove Top?
Timing is important. Most people kasher their stove top before Passover, but you should also kasher it if:
- You just moved into a new home
- You bought a used stove
- Non-kosher food was cooked on it
- Dairy and meat were mixed on the same burners
Kashering should be done after the stove has not been used for at least 24 hours. This waiting period helps ensure that any taste absorbed in the stove is considered “stale” and easier to remove according to Jewish law.
Tools And Items You Need
Before you start, gather everything you need. Having the right tools will make the process faster and safer.
- Protective gloves (heat-resistant)
- Oven cleaner or strong degreaser
- Scrubbing pads (non-metal for glass, metal for coils)
- Paper towels or disposable cloths
- Boiling water (for cleaning spills)
- Timer or clock
- Stainless steel pot (for boiling water)
- Foil or burner covers (if required for Passover)
Having these items on hand will help you avoid delays and keep the process smooth.
Step-by-step Guide: How To Kasher An Electric Stove Top
1. Preparation: Cleaning The Stove
Start with a thorough cleaning. Jewish law requires that all visible food and grease be removed before kashering. This is one of the most important steps.
- Remove all burner grates and drip pans.
- Scrub the burners, drip pans, and stove surface with oven cleaner or degreaser.
- Pay special attention to corners and under the burners.
- For stubborn spots, use a metal scrubbing pad if the surface allows.
- Rinse everything well and dry with a towel.
Tip: If you miss even a small spot of food, the kashering process will not work properly. Take your time.
2. Check The Stove Top Material
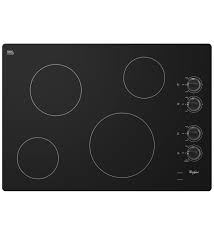
Most electric stove tops use exposed metal coils. Some newer models have a glass-ceramic surface. The kashering process is different for each, so check your stove model before you start.
3. Waiting Period
Wait at least 24 hours after the last use of the stove. Do not use the stove for cooking or heating during this time. This helps neutralize any absorbed taste.
4. Kashering The Burners (coils)
Electric coil burners are kashered by libun kal (light burning), which means heating them until they are red hot.
- Place each burner back on the stove.
- Turn each burner to the highest setting.
- Allow each coil to glow red for 10-15 minutes.
- If your burners do not glow, keep them on high for at least 15 minutes.
This heat will burn off any remaining residue and kosher the burners.
Safety Tip
Never leave the stove unattended during this process. The coils become extremely hot and can pose a fire risk.
5. Kashering The Drip Pans
Drip pans catch spills and often have the most buildup. They are usually made of metal, but some are porcelain.
- Remove drip pans and scrub clean.
- If metal, you can kasher them by placing them in the oven during a self-clean cycle or by heating them in the oven at 550°F for one hour.
- If porcelain, it’s best to replace them or cover with heavy-duty aluminum foil, since they cannot be kashered in most cases.
6. Kashering The Stove Top Surface
The flat area around the coils needs to be kashered as well.
- Clean the surface thoroughly.
- After cleaning, pour boiling water over the entire surface (this is called iruy in halacha).
- Use a stainless steel kettle or pot to pour the water in a continuous stream.
- Dry the area with paper towels.
If your stove top is not heat-resistant, cover the area with heavy-duty foil after cleaning and kashering.
7. Glass-ceramic Or Smooth-top Electric Stoves
These stoves need special attention.
- Clean the surface with a suitable cleaner.
- After waiting 24 hours, turn each burner to the highest setting for 15-20 minutes.
- For the area between burners, pour boiling water or cover with foil, as these parts cannot be kashered by heat alone.
Not all rabbis agree on kashering glass-ceramic tops for Passover, so consult your rabbi if unsure.
8. Reassembling The Stove
- Once all parts are kashered and cool, put the burners, drip pans, and covers back in place.
- If any parts cannot be kashered, cover them with heavy-duty foil.
Now your electric stove top is ready for kosher cooking.
Electric Vs. Gas Stove Top Kashering
People often wonder how kashering an electric stove compares to a gas stove. Here’s a quick look:
| Feature | Electric Stove Top | Gas Stove Top |
|---|---|---|
| Heat Source | Metal coils or smooth glass | Open flame |
| Kashering Method | Heat coils until red hot | Pass flame over grates and surface |
| Drip Pan Cleaning | Heat or cover with foil | Heat or cover with foil |
| Surface Kashering | Boiling water or cover | Boiling water or cover |
| Common Risks | Electrical hazards, overheating | Fire hazard from flame |
While the basic concept is similar, the method fits the specific design of each stove.
Credit: www.star-k.org
Common Mistakes To Avoid
Kashering a stove top is not hard, but beginners often make mistakes that can ruin the process or even damage the stove.
- Not cleaning thoroughly: Even tiny food scraps stop the kashering process from working.
- Skipping the waiting period: Using the stove too soon means tastes are still fresh and harder to remove.
- Heating for too short a time: Burners must be red hot for at least 10-15 minutes.
- Damaging drip pans: Porcelain pans often crack if heated too much—replace or cover instead.
- Not checking manufacturer instructions: Some new models have safety features that may shut off coils if they overheat.
One often-missed detail: If you have a “bridge” element (connects two coils for large pots), it must also be kashered by heating it to high. Don’t forget warming zones or extra features.
Practical Tips For Success
- Label burners: If you use some burners for dairy and others for meat, label them to avoid mixing.
- Use foil wisely: For Passover, many people cover the entire surface with heavy-duty foil for extra protection.
- Check for recalls: Some electric coils have been recalled for overheating—always check your model before starting.
- Child safety: Keep children and pets away during kashering. The process uses extreme heat.
What If My Stove Has Issues?
Sometimes, stoves have broken parts, built-up rust, or other damage. If you find:
- Rusty coils: Replace them. Rust can trap food and make kashering impossible.
- Broken drip pans: Use new ones or double-layer foil as a cover.
- Damaged glass top: Consult a rabbi—some damage cannot be kashered.
If in doubt, ask a local rabbi or kosher kitchen expert for advice.
Kashering For Passover: What’s Different?
Passover has stricter rules than regular kosher. Here’s what changes:
- Chametz (leaven) is forbidden in any amount.
- Many use extra foil and covers, even after kashering.
- Some authorities do not allow kashering glass-ceramic stoves for Passover.
- Check all stove parts and under the burners for crumbs.
For Passover, it’s common to cover all surfaces, even if kashered, as a double safeguard.
Credit: www.ok.org
Comparison Of Kashering Times
How long does each method take? Here’s a look at the time you’ll need for each part:
| Part | Cleaning Time | Kashering Time | Cooling/Finishing |
|---|---|---|---|
| Burners (Coils) | 15 min | 15 min | 10 min |
| Drip Pans | 10 min | 60 min (if in oven) | 20 min |
| Top Surface | 15 min | 10 min (boiling water) | 5 min |
Expect to spend about 1. 5 to 2 hours total, not counting the 24-hour waiting period.
Real-life Example: Kashering A Family Stove
Let’s look at a real scenario. The Goldstein family moved into a new apartment with an electric stove. The previous renters used it for both dairy and meat. Here’s what they did:
- Cleaned all parts with strong degreaser and hot water.
- Waited 24 hours with no use.
- Heated each burner until red hot for 15 minutes.
- Placed drip pans in the oven during self-clean cycle.
- Poured boiling water over the stove top.
- Covered non-metal parts with heavy-duty foil.
After this, they were able to cook kosher meals with full confidence.
The Science Behind Kashering
Kashering is not just tradition—it’s supported by science. Heating metal to red-hot temperatures causes it to reach about 900°F (480°C). At this heat, all organic food residues are vaporized. This is why kashering is so effective for metal coils.
For boiling water (iruy), the high temperature shocks and removes any remaining particles. Covering with foil adds a physical barrier.
Kashering And Modern Appliances
Many new electric stove tops have advanced features, such as sensors, glass touch controls, and safety shut-offs. Here’s what you need to know:
- Sensors may shut off coils before reaching red-hot; check your manual.
- Glass controls should not be exposed to boiling water—cover them instead.
- Induction burners are different and require their own kashering method (not covered here).
When in doubt, contact the manufacturer or consult a rabbi with experience in modern appliances.
Kashering Checklist
Before you finish, go through this quick checklist:
- All parts cleaned and free of visible food?
- Waited 24 hours since last use?
- Burners heated until red hot for 10-15 minutes?
- Drip pans kashered or covered with foil?
- Surface kashered with boiling water or covered?
- All parts cooled and reassembled safely?
If you answer “yes” to all, your electric stove top is now kosher.
Dealing With Unusual Situations
Every kitchen is different. Here are some cases and what to do:
- Extremely dirty or greasy stoves: Use commercial degreaser and repeat cleaning as needed.
- Burners won’t glow red: Some newer models have safety features; heat on high for 15 minutes, but consult your rabbi if unsure.
- No oven for drip pans: Cover with heavy-duty foil instead of heating.
- Renting or shared kitchen: Cover everything with foil for extra protection and label your burners.
Kashering For The First Time: What To Expect
If you have never kashered a stove top before, you might be surprised how much effort cleaning takes. The process can be messy, and you will use a lot of paper towels and cleaner. But after the first time, maintenance is much easier.
It’s also normal to feel nervous about using high heat. Always use heat-resistant gloves and keep a fire extinguisher nearby, just in case.
What To Do After Kashering
Once your stove is kashered:
- Use only kosher pots and utensils.
- Keep the stove clean to avoid needing to kasher again soon.
- For Passover, cover surfaces as required by your community.
- Label burners if you use separate ones for milk and meat.
The Role Of Community Customs
Jewish communities have different traditions for kashering. Some are stricter for Passover, some allow certain materials, and others do not. Always check with your rabbi or local authority about specific questions.
For more details on kosher kitchen practices, visit the OU Kosher Passover Guide.
Final Thoughts
Kashering an electric stove top may seem complex at first, but with careful cleaning, patience, and the right steps, anyone can do it. The keys are thorough cleaning, high heat, and careful reassembly. Always check your stove’s materials and consult your rabbi for special cases. This process not only makes your kitchen kosher but also gives you peace of mind for every meal.
Frequently Asked Questions
How Often Should I Kasher My Electric Stove Top?
Most people kasher before Passover each year and whenever the stove is used with non-kosher food. If you move into a new home or share a kitchen, kasher the stove before using it for kosher cooking.
Can I Kasher A Glass-ceramic Electric Stove Top?
Some rabbis allow kashering glass-ceramic tops with boiling water and high heat, but others do not, especially for Passover. Always consult your rabbi for your specific model.
What If My Electric Coils Do Not Glow Red?
If the coils do not glow, turn them to the highest setting for 15 minutes. If you are still unsure, check your stove’s manual or ask a rabbi for guidance.
Is It Safe To Use Oven Cleaner On Electric Stove Tops?
Yes, but use only on parts allowed by the manufacturer. Never spray cleaner on electric connections or inside the control panel. Always rinse well after using chemicals.
Do I Need To Cover The Stove Top With Foil After Kashering?
For Passover, many cover the stove top with heavy-duty foil as extra protection. For regular use, this is not required if kashering was done correctly, but some people prefer to cover for peace of mind.