Dehydrating vegetables at home is one of those kitchen skills that can change the way you store, cook, and enjoy fresh produce. If you’ve ever found yourself with too many tomatoes, a bumper crop of zucchini, or just want to reduce food waste, learning how to dehydrate veggies in the oven is practical, cost-effective, and surprisingly simple.
You don’t need a fancy dehydrator—just a basic oven, some common kitchen tools, and a little patience.
This guide will walk you through everything you need to know: why dehydration is a smart choice, what veggies work best, how to prep and season, step-by-step oven dehydration instructions, how to store your dried veggies, common mistakes to avoid, and creative ways to use your new pantry staples. By the end, you’ll be confident in making delicious, shelf-stable, homemade dried vegetables, with a few pro tips that most beginners miss.
Why Dehydrate Veggies In The Oven?
Dehydrating vegetables is one of the oldest ways to preserve food. It removes most of the moisture, which helps prevent spoilage and extends shelf life for months or even years. While dehydrators are designed for this process, your regular kitchen oven can do an excellent job with a bit of attention.
There are several reasons to use your oven to dehydrate veggies:
- No extra equipment needed: Use what you already have.
- Reduces food waste: Save those extra carrots or peppers before they go bad.
- Concentrates flavor: Drying makes the taste more intense, great for snacks and cooking.
- Saves money: Homemade dried veggies are cheaper than store-bought.
- Space-saving: Dried vegetables take up less room than fresh or frozen.
What Vegetables Work Best For Oven Dehydration?
Not all veggies dry the same way. Some work beautifully, while others are challenging or just not tasty when dried. Here’s a look at popular choices, plus a few you might not expect.
| Vegetable | Best Use | Typical Dehydration Time (hours) | Notes |
|---|---|---|---|
| Tomatoes | Snacks, sauces | 8-12 | Slices or cherry halves |
| Zucchini | Chips, soups | 6-10 | Slice thin for chips |
| Carrots | Soups, stews | 6-8 | Blanch first |
| Pepper (bell) | Snacks, powder | 8-10 | Slice thin |
| Mushrooms | Soups, risotto | 6-8 | Slice evenly |
| Green beans | Soups, casseroles | 8-10 | Blanch first |
| Beets | Chips, salads | 8-10 | Thin slices |
| Onions | Powder, soups | 6-8 | Strong smell |
| Spinach/Kale | Powder, chips | 4-6 | Watch for burning |
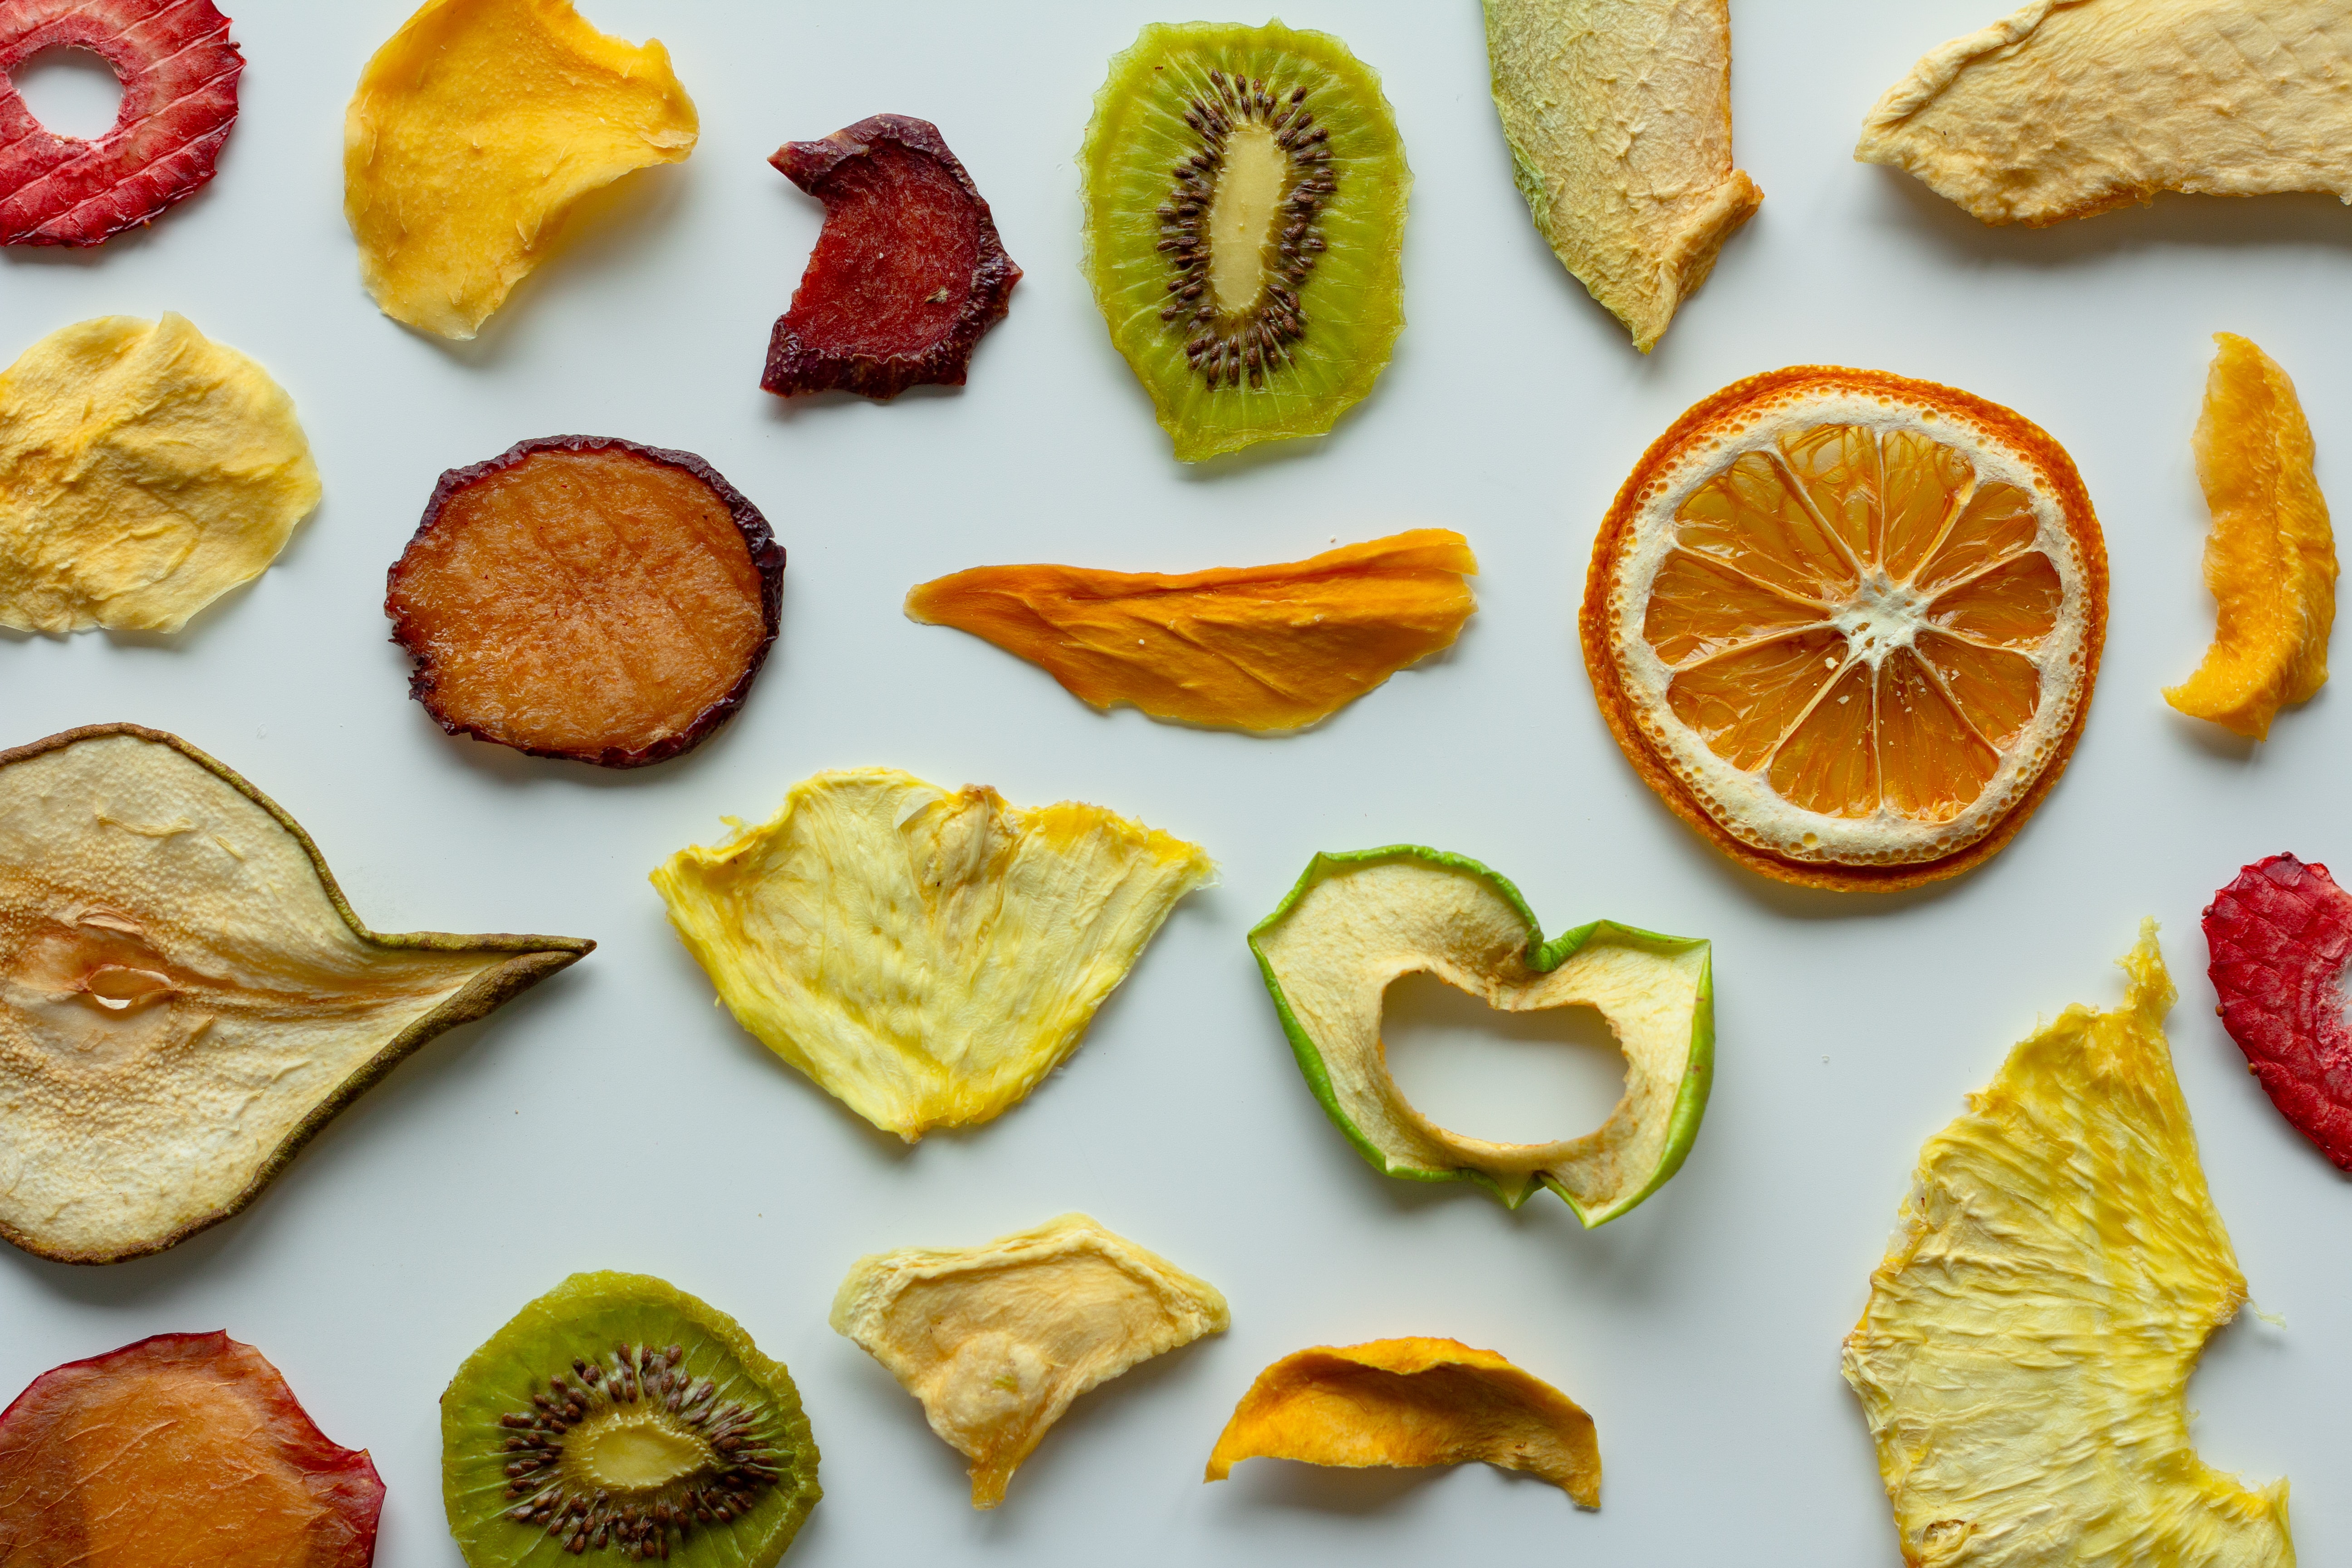
Most root vegetables, leafy greens, and many fruits can also be dehydrated using the oven method. Avoid high-water veggies like cucumbers or lettuce—they don’t dry well and can become chewy.
Credit: gardening.usask.ca
How Dehydration Works
Understanding the science behind dehydration helps you get better results. Dehydration works by removing water from the vegetable. Most spoilage organisms—like bacteria and molds—need water to survive. By drying veggies, you create an environment where these organisms can’t grow.
Ovens dehydrate by using low, steady heat and air movement to slowly evaporate moisture. However, ovens are designed for baking, not drying, so they don’t always keep a perfect, steady low temperature. That’s why careful prep, monitoring, and a few tricks can make a big difference.
Essential Tools And Supplies
You don’t need much to get started. Here’s what you’ll need for successful oven dehydration:
- Oven: Any conventional oven will work.
- Baking sheets: Preferably rimmed, to prevent slipping.
- Cooling racks or wire racks: For better air flow (optional but recommended).
- Parchment paper or silicone mats: Prevent sticking.
- Sharp knife or mandoline: For even slicing.
- Large bowl: For blanching (if needed).
- Tongs or spatula: To flip or remove veggies.
- Clean jars or airtight containers: For storage.
- Oven thermometer: Many ovens run hotter or colder than the dial.
A digital oven thermometer is a game-changer. Most ovens have a temperature range of 170°F to 200°F at their lowest setting, but accuracy varies. For best results, keep the temp between 125°F and 150°F for most vegetables.
Prepping Vegetables For The Oven
Proper prep is the secret to even, tasty results. Here’s a step-by-step breakdown:
1. Wash And Dry Thoroughly
Always start with clean vegetables. Rinse under cold water to remove dirt and bacteria. Pat dry with a clean towel or use a salad spinner for leafy greens.
2. Peel And Trim
Peel thicker-skinned veggies like carrots, beets, or potatoes. Remove any blemishes or soft spots.
3. Slice Evenly
Cut vegetables into uniform slices—around 1/8 to 1/4 inch thick. Thinner slices dry faster and more evenly. Use a mandoline for best results, especially for chips.
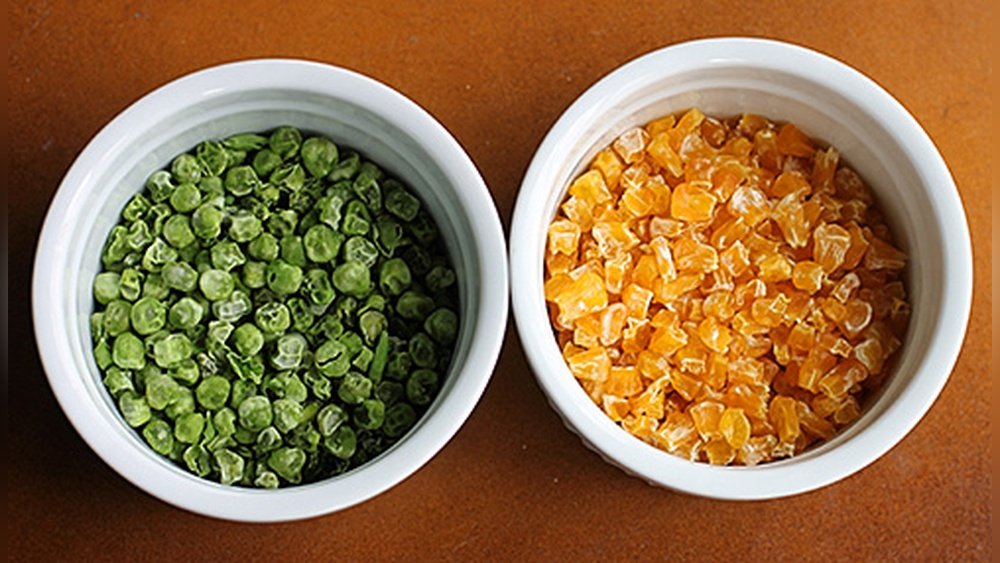
4. Blanch When Needed
Some veggies, especially those that are dense or starchy (like carrots, beans, peas), benefit from blanching—briefly boiling, then cooling in ice water. This step preserves color, flavor, and vitamins, and helps the veggies dehydrate more evenly.
Blanching steps:
- Bring a pot of water to a boil.
- Drop in sliced veggies for 2-3 minutes.
- Quickly transfer to a bowl of ice water for the same time.
- Drain and pat dry.
Not all veggies need blanching. Tomatoes, peppers, mushrooms, and onions can go straight to the oven.
5. Season (optional)
Some veggies taste great plain, but you can add flavor before drying. Toss slices with olive oil, salt, pepper, or spices. Try garlic powder, smoked paprika, chili flakes, or even a sprinkle of cheese for chips. Don’t overdo it—too much oil can slow drying.
6. Arrange On Trays
Lay the slices in a single layer on parchment or silicone-lined baking sheets. For better air flow, use wire racks placed over the sheets. Don’t let pieces overlap, or they’ll stick and dry unevenly.
Step-by-step: How To Dehydrate Veggies In The Oven
Now you’re ready to dry your veggies. Here’s the full process, with tips for success.
Set Your Oven
- Preheat the oven to its lowest setting—usually between 170°F and 200°F. If your oven goes lower, use that.
- Use an oven thermometer to check the real temperature. If the oven is too hot, prop the door open a crack with a wooden spoon. This also helps moisture escape.
Load The Veggies
- Place trays in the center of the oven. Avoid overcrowding—leave space for air to circulate.
- If possible, use multiple racks. Rotate trays every hour for even drying.
Drying Time
Most veggies take 6 to 12 hours. Thin leafy greens or small pieces can dry in as little as 4 hours. The exact time depends on:
- Slice thickness
- Oven temperature
- Moisture content
- Humidity in your kitchen
Check the veggies every hour or so. Flip slices halfway through for even drying.
How To Tell When Veggies Are Done
Dried vegetables should feel dry, leathery, and slightly brittle. They shouldn’t feel sticky or soft. Break a piece to test—if it snaps, it’s ready. For leafy greens, they should crumble easily.
Cooling And Conditioning
Once dried, let veggies cool completely on trays. Warm pieces can trap moisture in containers, causing spoilage.
For best storage, condition your dried veggies. Place in a loosely covered jar for 7-10 days. Shake daily. If you see moisture or condensation, return to the oven to dry more. This step helps even out any leftover moisture and prevents mold.
Oven Dehydration Vs. Dehydrator: How Do They Compare?
You might wonder if using the oven is as good as a dedicated dehydrator. Here’s a side-by-side look:
| Aspect | Oven | Dehydrator |
|---|---|---|
| Temperature Control | Less precise (may vary) | Very precise, steady |
| Energy Use | Higher, not as efficient | Lower, designed for drying |
| Capacity | Limited by oven size | More trays, more volume |
| Cost | No extra purchase | Requires buying a unit |
| Result | Very good with care | Excellent and consistent |
| Noise | Silent or very quiet | Some are noisy |
The oven is perfect for beginners, small batches, or if you want to try dehydrating without a big investment. For frequent or large-scale drying, a dehydrator is more efficient, but the quality difference is often small if you pay attention to temperature and air flow.
Common Mistakes To Avoid
Even a small error can lead to poor results or wasted food. Here are mistakes to watch for:
- Slicing unevenly: Thick and thin pieces dry at different rates. Use a mandoline or take your time with a knife.
- Oven too hot: High heat cooks rather than dries. This can make veggies tough or burned.
- Not rotating trays: Ovens have hot spots. Rotate and flip trays for even drying.
- Skipping blanching: For some veggies, this step is crucial for color and texture.
- Overcrowding trays: Leave space for air to circulate or you’ll end up with uneven, sticky veggies.
- Not conditioning: Jumping straight to storage risks trapped moisture and mold.
- Ignoring humidity: On humid days, drying takes longer. Use a dehumidifier or wait for drier weather if possible.
- Storing before fully cool: Warm veggies can cause condensation in storage containers.
- Using too much oil: Oil can slow dehydration and make veggies spoil faster.
- Not checking for doneness: Veggies that aren’t fully dry can spoil, even in airtight containers.
:max_bytes(150000):strip_icc()/EatingWell_Dehydrating_Guide_All_366-fcacfe5bb344468ba10418e6a6562e66.jpg)
Credit: www.eatingwell.com
Storing And Using Dehydrated Vegetables
Proper storage keeps your dried veggies fresh and safe for months. Here’s how to do it right.
Storage Tips
- Use airtight containers: Mason jars, vacuum-sealed bags, or containers with tight lids work best.
- Store in a cool, dark place: Light and heat can degrade flavor and nutrients.
- Label and date: Write the veggie and drying date on each container.
- Check for moisture: If you see any condensation, redry immediately.
Well-dried and stored veggies can last 6-12 months or longer. For longer storage, use oxygen absorbers or vacuum sealing.
How To Use Dried Veggies
Dried vegetables are incredibly versatile. Here are some ways to use them:
- Soups and stews: Add directly, no need to rehydrate.
- Stir-fries and casseroles: Soak in warm water for 10-20 minutes to rehydrate.
- Powdered: Blend dried onions, peppers, or greens into a powder for seasoning.
- Snacks: Crisp chips from beets, kale, or zucchini make healthy snacks.
- Backpacking and camping: Light, shelf-stable, and easy to pack.
- Emergency food supply: Long shelf life makes them great for preparedness.
Rehydration Tips
Some veggies, like tomatoes or mushrooms, rehydrate quickly and taste almost like fresh. Others, such as carrots or beans, need a longer soak or cooking time. Use hot water for faster rehydration, and remember, flavors will be more concentrated.
Creative Ideas: Beyond The Basics
Dehydrating isn’t just about storage. Here are a few creative uses you might not have considered:
- Veggie powders: Grind dried spinach or kale into a powder for smoothies or pasta dough.
- Homemade spice blends: Mix powdered onions, garlic, and peppers for custom seasoning.
- DIY instant soup mix: Combine dried veggies, noodles, and bouillon for a quick meal.
- Healthy kid snacks: Kids love crispy veggie chips—try with a sprinkle of cheese or cinnamon.
- Salad toppers: Add crunch to salads with dried corn, peas, or beets.
- Gift jars: Layer colorful dried veggies in a jar for a homemade gift.
- Emergency hiking rations: Pack lightweight, energy-rich snacks for the trail.
One insight many beginners miss: Dehydrated veggies can be blended into flours or powders to boost nutrition in baked goods, pancakes, or sauces—an easy way to sneak extra veggies into meals.
Another advanced tip: Try marinating slices before drying for added flavor. For example, soak zucchini or mushrooms in soy sauce and spices, then dry for a savory, jerky-like snack.
Troubleshooting: Fixing Common Oven Dehydration Issues
Even with care, things can go wrong. Here’s how to handle the most common problems:
- Veggies turn brown or black: The oven is too hot, or slices are too thin. Lower the temp and check more often.
- Veggies stay soft or sticky: Not dry enough. Return to the oven and continue drying.
- Strong odors fill the kitchen: Onions, garlic, or strong greens are naturally pungent. Dry with windows open or use a vent fan.
- Veggies lose color: Skipping blanching can cause color loss. Always blanch when needed.
- Veggies taste bland: Lightly season before drying, or use them in flavorful recipes.
Patience is key. Dehydration is a slow process, but rushing leads to poor results.
Nutritional Value: Does Dehydration Affect Vitamins?
Dehydrated veggies retain most of their minerals and fiber, but some vitamins—especially vitamin C and some B vitamins—are sensitive to heat. Blanching and oven drying can cause some loss, but the results are still nutritious and a great way to keep produce for months.
For best nutrition:
- Use the lowest temperature possible
- Blanch quickly (not too long)
- Store away from light and heat
Eating a mix of fresh and dried veggies is the best way to get all your nutrients.
Environmental And Economic Benefits
Dehydrating at home is not just about convenience—it’s good for the planet and your wallet.
- Reduces food waste: Use up veggies that might otherwise be thrown out.
- Less packaging: Homemade dried veggies don’t need plastic wrappers.
- Saves money: Buy in bulk, dehydrate at peak season, and enjoy savings all year.
- Lower carbon footprint: Less need for refrigeration or shipping.
According to the USDA, Americans throw away about 30-40% of their food supply. Dehydrating is a simple way to fight this waste.
Advanced Tips For Oven Dehydration Success
If you want to take your oven dehydration skills to the next level, try these expert strategies:
- Use convection mode if your oven has it. The fan helps circulate air, leading to more even drying.
- Stack trays: Use wire racks to double up and dry more at once.
- Check oven temp regularly: Ovens often fluctuate—keep an eye on your thermometer.
- Try batch prepping: Dry similar veggies together to save time and energy.
- Keep a drying log: Note oven temps, times, and results. This helps you repeat successes and avoid mistakes.
Here’s a quick comparison of common oven types for dehydration:
| Oven Type | Best For | Potential Drawbacks |
|---|---|---|
| Conventional Electric Oven | Most veggies, small batches | Hot spots, uneven drying |
| Convection Oven | Even drying, large batches | May dry thin items too fast |
| Toaster Oven | Small batches, quick jobs | Limited space |
| Gas Oven | Reliable, dry heat | May be hard to keep low temp |

Credit: www.seedtopantry.com
Frequently Asked Questions
How Long Do Dehydrated Vegetables Last?
Properly dried and stored vegetables can last from 6 months up to 1 year in airtight containers. For even longer shelf life, use vacuum sealing or oxygen absorbers. Always store in a cool, dark place to preserve flavor and nutrients.
Do I Need To Blanch All Vegetables Before Dehydrating In The Oven?
No, not all veggies need blanching. Blanching is best for dense or starchy vegetables (like carrots, beans, peas) to preserve color and texture. Skip blanching for tomatoes, onions, peppers, and mushrooms.
Can I Dehydrate Frozen Vegetables In The Oven?
Yes, you can dehydrate frozen vegetables. Thaw and pat them dry first. Most frozen veggies are already blanched, so you can skip that step. Spread on trays and dry as you would with fresh veggies.
Why Do My Dried Veggies Get Moldy In Storage?
This usually happens if the vegetables were not fully dried or cooled before storing. Always check for dryness, cool completely, and use airtight containers. If you see moisture in the container, redry the veggies.
Is Oven Dehydration Energy Efficient Compared To A Dehydrator?
Dehydrators are generally more energy efficient, as they use less power and are designed for long, low-temperature operation. However, ovens are convenient for occasional or small-batch drying. For frequent dehydration, consider investing in a dedicated unit. For more details, check this Energy Saver resource.
Dehydrating vegetables in the oven is a rewarding skill that saves money, reduces waste, and fills your pantry with healthy, flavorful ingredients. Whether you’re a gardener, a bargain shopper, or just want to try something new, this method is accessible to everyone.
With patience and a few smart tips, you’ll master oven dehydration and enjoy delicious results all year long.